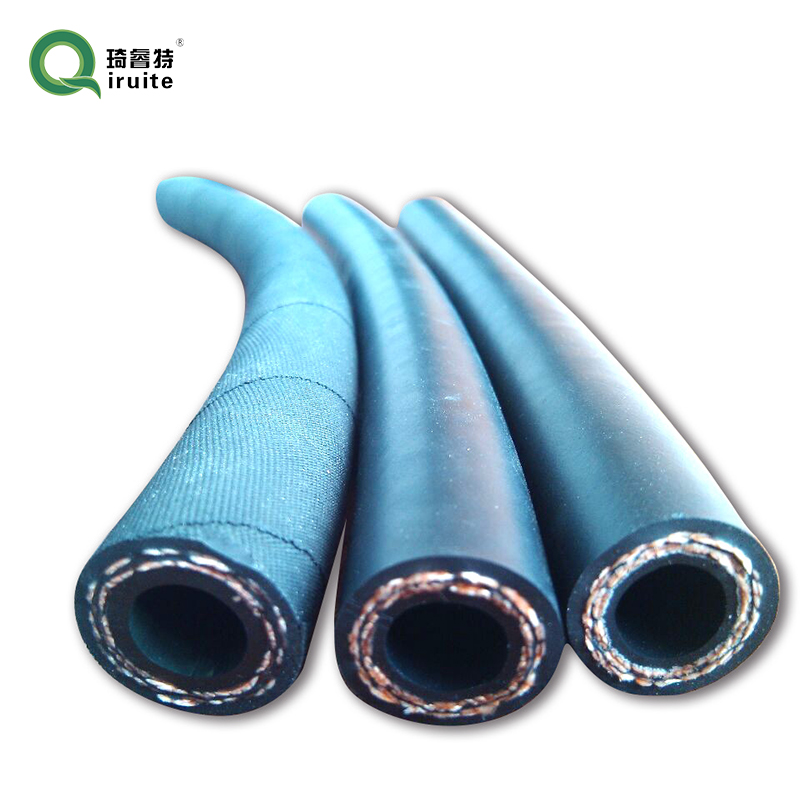
How to Disconnect Power Steering Hose for Vehicle Maintenance
Removing Power Steering Hose A Step-by-Step Guide
Power steering is an essential component of modern vehicles, allowing drivers to steer more easily and with less physical effort. However, components of the power steering system, like the power steering hose, can wear out over time, leading to leaks or reduced performance. This article will guide you through the process of removing the power steering hose, an essential maintenance task that can save you both time and money when done properly.
Tools and Materials Needed
Before you begin, gather the necessary tools and materials. You will need
- A socket set (including extensions) - Wrenches (both metric and standard) - Screwdrivers (flathead and Phillips) - Pliers - Drain pan - Clean rags or towels - Power steering fluid - Replacement power steering hose - Safety glasses and gloves
Step 1 Prepare Your Vehicle
To ensure safety, park your vehicle on a flat surface and turn off the engine. Engage the parking brake and allow the engine to cool if it has been running. This is crucial as hot components can cause burns.
Step 2 Locate the Power Steering Hose
The power steering hose connects the power steering pump to the steering gear. Open the hood and locate the power steering reservoir, which is typically near the driver's side of the engine bay. The reservoir will have two hoses one for fluid returning to the pump and the other delivering fluid to the steering gear.
Step 3 Drain the Power Steering Fluid
Using a drain pan, meticulously remove the power steering fluid from the reservoir. This step is crucial to prevent spills and mess. Use a turkey baster or siphon pump to extract as much fluid as possible. Once drained, you can remove the cap from the reservoir and clean the area around it to avoid contamination.
remove power steering hose

Step 4 Disconnect the Old Hose
Using the appropriate wrench, carefully loosen the fittings on each end of the power steering hose. There are typically two connections one at the power steering pump and the other at the steering gear. Be careful to avoid damaging the fittings. If the hose is stuck, you may need to use penetrating oil to help loosen it.
Once the fittings are loose, use pliers to disconnect the hose. Be prepared for residual fluid to leak out during this process. Make sure your drain pan is in place to catch any spills.
Step 5 Remove the Power Steering Hose
With the connections loosened and disconnected, carefully remove the power steering hose from its mounting points. In some vehicles, the hose may be secured with brackets; if so, use your socket set to remove these fasteners. Take care when maneuvering the hose out of the engine bay, as it may be entangled with other components.
Step 6 Install the New Power Steering Hose
Position the new power steering hose in the same route as the old one. Begin by connecting one end of the hose to the power steering pump, ensuring it fits securely. Next, connect the other end to the steering gear. Tighten both connections with the appropriate tools, but avoid over-tightening as this may cause damage.
Step 7 Refill and Test the System
Once the new hose is in place, you will need to refill the power steering reservoir with new power steering fluid. Consult your vehicle's owner manual for the correct type of fluid. After filling, cycle the steering wheel from lock to lock several times to help bleed air from the system.
Conclusion
Removing and replacing the power steering hose is a manageable task for those with basic mechanical knowledge. Following the steps outlined above can save you from costly mechanics' fees and ensure your vehicle continues to operate smoothly. Always remember to wear safety gear and take your time. Maintenance is crucial for long-term vehicle reliability, and taking these steps will help you maintain your power steering system effectively.
-
Ultimate Spiral Protection for Hoses & CablesNewsJun.26,2025
-
The Ultimate Quick-Connect Solutions for Every NeedNewsJun.26,2025
-
SAE J1401 Brake Hose: Reliable Choice for Safe BrakingNewsJun.26,2025
-
Reliable J2064 A/C Hoses for Real-World Cooling NeedsNewsJun.26,2025
-
Heavy-Duty Sewer Jetting Hoses Built to LastNewsJun.26,2025
-
Fix Power Steering Tube Leaks Fast – Durable & Affordable SolutionNewsJun.26,2025

