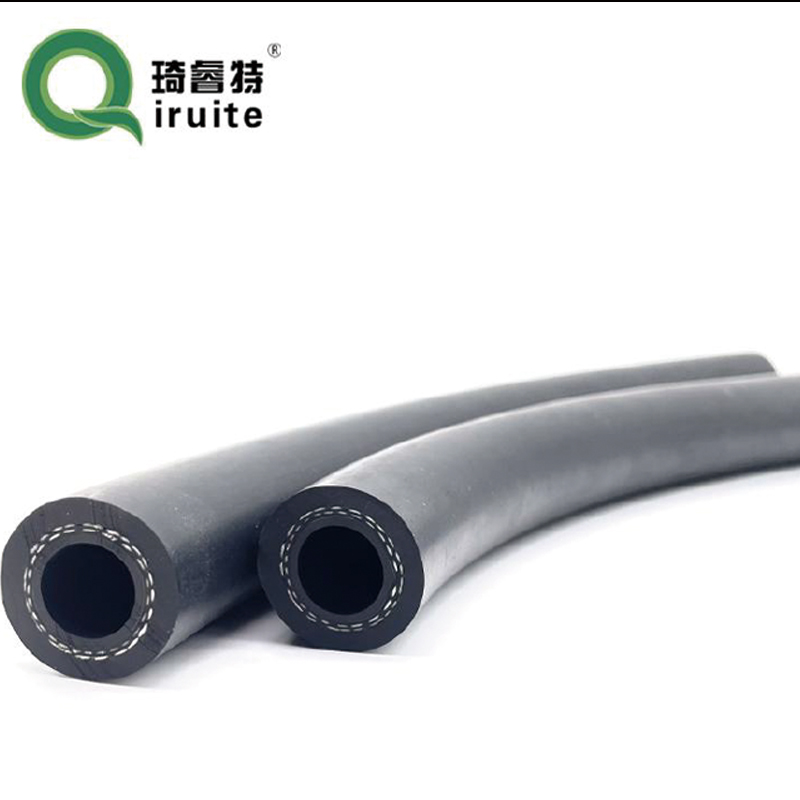
R134a Manifold Gauge Set for Refrigerant System Diagnostics and Maintenance
Understanding Manifold Gauge Set for R134a Refrigerant
In the world of HVAC (Heating, Ventilation, and Air Conditioning), the proper maintenance and servicing of refrigeration systems are paramount. One essential tool used in this field is the manifold gauge set, particularly for systems using R134a refrigerant. This article delves into the importance of these tools, their components, and how to use them effectively.
What is R134a Refrigerant?
R134a, also known as tetrafluoroethane, is a hydrofluorocarbon (HFC) that has been widely used as a refrigerant in automotive air conditioning systems and various commercial applications. It was developed as a replacement for R12, a chlorofluorocarbon (CFC) that was phased out due to its harmful effects on the ozone layer. R134a has a much lower ozone depletion potential, making it an environmentally friendly option, although concerns about its global warming potential have led to the development of alternatives.
The Importance of a Manifold Gauge Set
A manifold gauge set allows technicians to monitor pressure and diagnose issues within a refrigeration system. It provides critical data regarding the high and low side pressures of the refrigerant, enabling professionals to determine whether a system is charged correctly, troubleshoot problems, and ensure efficient operation.
Components of a Manifold Gauge Set
A typical manifold gauge set consists of several key components
1. Manifold Hoses These color-coded hoses (usually red for the high-pressure side, blue for the low-pressure side, and yellow for the refrigerant recovery) connect the manifold gauge to the HVAC system. They are designed to withstand high pressure while allowing easy connection and disconnection.
2. Pressure Gauges The set consists of two gauges – the high-pressure gauge and the low-pressure gauge. The high-pressure side measures the pressure in the condenser, while the low-pressure side measures the pressure in the evaporator.
3. Manifold Body The manifold body houses the gauges and has various valves to control the flow of refrigerant. The valves allow for the isolation of the system or the evacuation and charging of refrigerants.
manifold gauge set r134a

4. Relief Valve This component helps prevent overpressure situations that could damage the system or the gauge set.
5. Sight Glass Some advanced models include a sight glass that allows technicians to visually inspect the flow of refrigerant, looking for bubbles that may indicate issues.
Using the Manifold Gauge Set
When using a manifold gauge set for R134a, it is crucial to follow a systematic procedure
1. Connect the Hoses Attach the blue low-pressure hose to the low side service port and the red high-pressure hose to the high side service port of the HVAC system. Ensure the yellow hose is connected to a recovery device or refrigerant cylinder.
2. Start the System Turn on the HVAC system to allow refrigerant to circulate.
3. Read the Pressures Observe the readings on the gauges. The low side should typically read between 25 to 45 psi, while the high side usually reads between 150 to 250 psi, depending on ambient temperatures and system design.
4. Diagnose Issues Analyze the readings to determine potential problems. For example, if the low side is too low, there may be inadequate refrigerant, while too high a low-side reading might indicate a blockage.
5. Service the System Based on your diagnostic conclusions, you may need to recover, recharge, or repair the system.
Conclusion
A manifold gauge set for R134a is an indispensable tool for HVAC professionals. Understanding its components and proper usage not only enhances the efficiency of service but also ensures the longevity of refrigeration systems. With ongoing developments in refrigerants and HVAC technology, keeping abreast of these tools is essential for professionals aiming for excellence in their field.
-
Ultimate Spiral Protection for Hoses & CablesNewsJun.26,2025
-
The Ultimate Quick-Connect Solutions for Every NeedNewsJun.26,2025
-
SAE J1401 Brake Hose: Reliable Choice for Safe BrakingNewsJun.26,2025
-
Reliable J2064 A/C Hoses for Real-World Cooling NeedsNewsJun.26,2025
-
Heavy-Duty Sewer Jetting Hoses Built to LastNewsJun.26,2025
-
Fix Power Steering Tube Leaks Fast – Durable & Affordable SolutionNewsJun.26,2025

