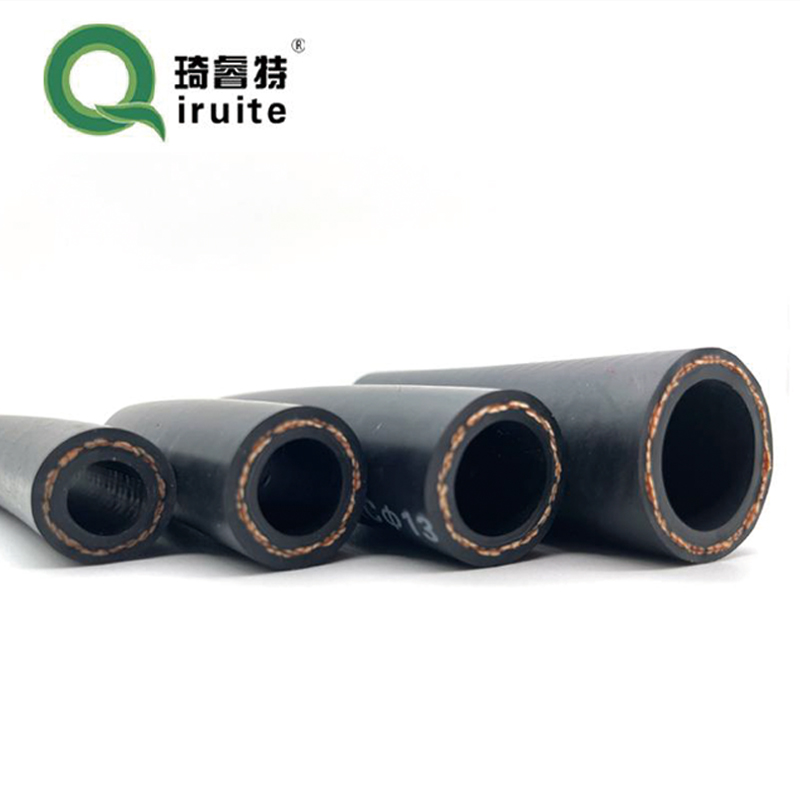
make power steering hose
How to Make a Power Steering Hose A Step-by-Step Guide
Power steering is an essential feature in modern vehicles, providing ease of maneuverability and reducing the physical effort required to turn the steering wheel. The power steering system relies on hydraulic fluid, which is transported through hoses connecting various components. Over time, these hoses can wear out, leak, or become damaged, necessitating replacement. In this guide, we’ll explore how to make a power steering hose, focusing on the materials you need, the tools required, and the step-by-step process to ensure a successful DIY project.
Materials Needed
1. Power Steering Hose Kit Purchase a power steering hose kit, which usually contains the necessary lengths of hose and connectors for your specific vehicle model. 2. Hydraulic Fluid Make sure to have the correct type of hydraulic fluid for your vehicle’s power steering system. 3. Hose Clamps These will help secure the hose to the fittings and prevent any leaks.
Tools Required
1. Tube Cutter A clean cut on the hose is vital for proper sealing. 2. Wrench Set You’ll need these to tighten connections and remove the old hose. 3. Screwdriver Useful for any clamps or fasteners you might need to remove. 4. Safety Goggles and Gloves Protecting yourself from hydraulic fluid and debris is important.
Step-by-Step Process
Step 1 Safety First
Before you begin, ensure the vehicle is on a level surface and the engine is turned off. Disconnect the battery to prevent any accidental electrical shorts. Wear safety goggles and gloves to protect yourself from fluid spills and debris.
Step 2 Remove the Old Hose
Locate the power steering hose, which usually runs from the power steering pump to the steering gear or rack. Using your wrench, loosen the fittings on both ends of the hose. Be prepared for some hydraulic fluid to leak out during this process, so have a container handy to catch it. Remove the old hose carefully, ensuring not to damage any other components.
Step 3 Prepare the New Hose
make power steering hose

Take your new power steering hose from the kit. If it requires cutting, use a tube cutter to ensure a clean cut at the appropriate length. Check the ends of the hose to ascertain they are smooth and free from any debris. This step is critical, as rough edges can lead to leaks.
Step 4 Attach the New Hose
Begin by connecting one end of the new hose to the power steering pump. Place a hose clamp over the hose first, slide the hose onto the fitting, and then tighten the clamp securely with a screwdriver. Repeat this process on the other end, attaching the hose to the steering gear.
Step 5 Fill the System with Hydraulic Fluid
Once the hose is securely in place, you’ll need to fill the power steering reservoir with the appropriate hydraulic fluid. Consult your vehicle’s manual for the correct type and amount required. This step is essential to ensure optimal functionality of your power steering system.
Step 6 Bleed the Power Steering System
With the new hose installed and fluid added, it’s vital to remove any air bubbles from the system. Start the engine and turn the steering wheel from lock to lock several times. This action helps to circulate the fluid, pushing any trapped air out of the system. Keep an eye on the fluid level, adding more as necessary.
Step 7 Test Drive
After completing the installation and bleeding the system, take your vehicle for a short test drive. Pay attention to the steering response and listen for any unusual noises, which could indicate a problem. Check for leaks around the newly installed hoses after the drive.
Conclusion
Making a power steering hose is a straightforward process that can save you money on repairs while providing you with a sense of accomplishment. By following these steps and using the right tools and materials, you can ensure your vehicle maintains its ease of handling and performance. Regular maintenance and timely hose replacement are key to keeping your power steering system in top shape.
-
Ultimate Spiral Protection for Hoses & CablesNewsJun.26,2025
-
The Ultimate Quick-Connect Solutions for Every NeedNewsJun.26,2025
-
SAE J1401 Brake Hose: Reliable Choice for Safe BrakingNewsJun.26,2025
-
Reliable J2064 A/C Hoses for Real-World Cooling NeedsNewsJun.26,2025
-
Heavy-Duty Sewer Jetting Hoses Built to LastNewsJun.26,2025
-
Fix Power Steering Tube Leaks Fast – Durable & Affordable SolutionNewsJun.26,2025

