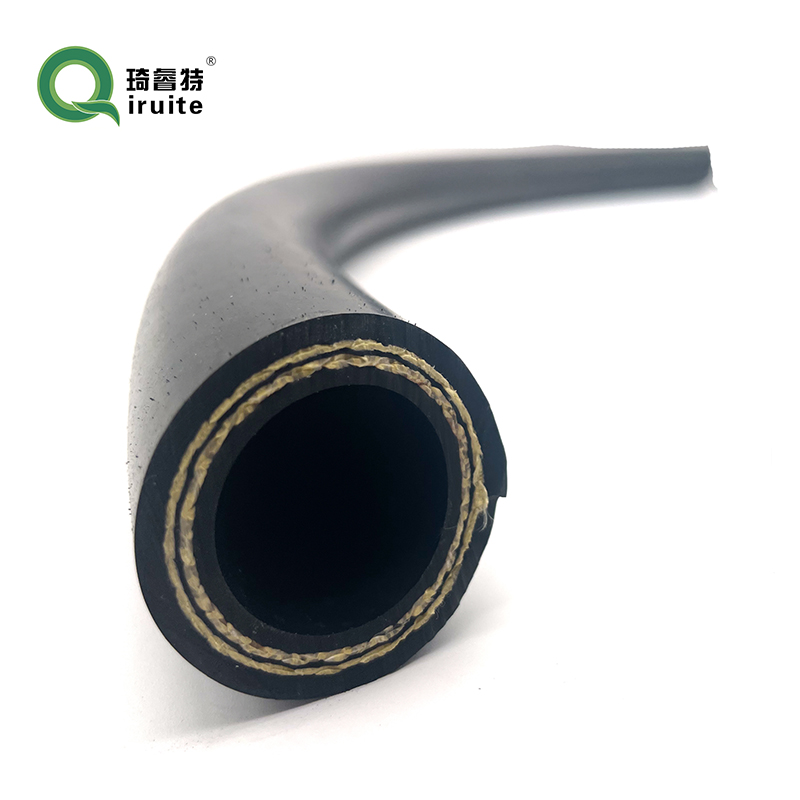
how to remove high pressure power steering hose
How to Remove a High Pressure Power Steering Hose
Removing a high pressure power steering hose can be a necessary task for any car enthusiast or mechanic when dealing with power steering issues. Whether it's leaking fluid or simply needing replacement, it’s crucial to approach the job with caution and the right tools. Below is a step-by-step guide on how to effectively remove a high pressure power steering hose from your vehicle.
Tools and Materials Needed
1. Wrenches or Socket Set Depending on your vehicle, you may need specific sizes. 2. Pliers For hose clamps, if applicable. 3. Drain Pan To catch any fluid that spills during the process. 4. Rags or Towels For cleanup and absorbing excess fluid. 5. Safety Glasses and Gloves To protect yourself while working. 6. New Hose In case you're replacing the old one.
Step-by-Step Guide
1. Prepare Your Vehicle
Before starting the removal process, ensure the vehicle is parked on a level surface and the engine is cool. Engage the parking brake for added safety.
2. Locate the High Pressure Power Steering Hose
The high pressure power steering hose is typically located near the steering rack, connecting the power steering pump to the steering gear. Consult your vehicle’s service manual for exact locations and diagrams if needed.
3. Drain the Power Steering Fluid
To minimize mess and potential hazards, it’s best to drain the power steering fluid. Locate the power steering fluid reservoir and use a siphon or turkey baster to remove the fluid. Place a drain pan underneath the connection point of the high pressure hose to catch any residual fluid.
4. Disconnect the Hose from the Pump
Using the appropriate wrench or socket, carefully loosen the fitting connecting the high pressure hose to the power steering pump. This connection might be tight, so be prepared for some resistance. Turn the fitting counterclockwise to remove it. Remember, with the system drained, you should not see much fluid.
5. Remove the Hose from the Steering Rack
how to remove high pressure power steering hose

After disconnecting the hose from the pump, follow it down to the steering rack. There will be another connection point here that needs to be disengaged. Again, use your wrench or socket to loosen this fitting and carefully pull the hose free from the steering rack.
6. Address Fixed Hose Clamps
If your high pressure hose is secured with hose clamps, use pliers to open them first. For some vehicles, sliding clamps away from the connection points will be necessary. Take extra care not to damage any nearby components while doing this.
7. Inspect and Clean the Area
Once the hose is removed, take some time to clean the area around the fittings both at the pump and the steering rack. This will help prevent contaminants from entering the power steering system when you install the new hose.
8. Install the New Hose
Take your new high pressure power steering hose and align it with the fittings at both ends. Hand-tighten the connections first to avoid cross-threading. Once you are sure they are secure, use your wrench to tighten them adequately, ensuring a snug yet comfortable fit.
9. Refill the Power Steering Fluid
With the new hose installed, it’s time to fill the power steering fluid reservoir with the appropriate fluid as specified in your owner’s manual. Fill it to the recommended level, and then turn the steering wheel from lock to lock several times with the engine running to help purge air from the system.
10. Check for Leaks
After everything is reconnected and filled, inspect the fittings for any signs of leaks. It's crucial to rectify any leaks before taking the vehicle on the road.
Conclusion
Removing a high pressure power steering hose may seem daunting, but with the right tools and a systematic approach, it can be done efficiently, restoring the functionality of your vehicle’s power steering system. Always remember to prioritize safety and cleanliness when working on your car. If at any point you feel unsure, it's advisable to seek assistance from a professional mechanic. Happy wrenching!
-
Ultimate Spiral Protection for Hoses & CablesNewsJun.26,2025
-
The Ultimate Quick-Connect Solutions for Every NeedNewsJun.26,2025
-
SAE J1401 Brake Hose: Reliable Choice for Safe BrakingNewsJun.26,2025
-
Reliable J2064 A/C Hoses for Real-World Cooling NeedsNewsJun.26,2025
-
Heavy-Duty Sewer Jetting Hoses Built to LastNewsJun.26,2025
-
Fix Power Steering Tube Leaks Fast – Durable & Affordable SolutionNewsJun.26,2025

