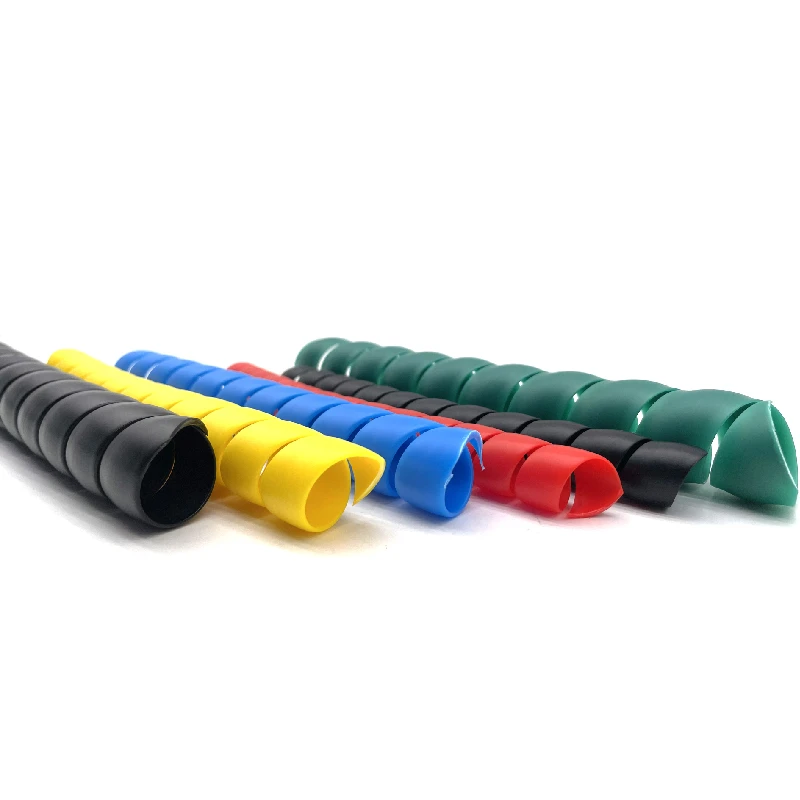
how to change the power steering hose
How to Change the Power Steering Hose
Power steering hoses play a crucial role in your vehicle’s steering system, allowing for smooth and effortless steering. Over time, these hoses can wear out, leading to leaks and loss of power steering fluid. If you notice a drop in steering responsiveness or find fluid on your garage floor, it may be time to replace your power steering hose. Here’s a step-by-step guide on how to change it yourself.
Tools and Materials Needed
Before starting, gather the following tools and materials
- New power steering hose - Power steering fluid - Wrench set - Socket set - Pliers - Screwdriver - Oil catch pan - Funnel - Safety goggles - Gloves
Step 1 Safety First
Park your vehicle on a flat surface, turn off the engine, and set the parking brake. Ensure the engine is cool before starting the process. Wear safety goggles and gloves to protect your eyes and hands.
Step 2 Locate the Power Steering Hose
Open the hood and locate the power steering reservoir. The power steering hose usually runs from the reservoir to the steering gear or rack and pinion. Identify which hose needs to be replaced, as there may be more than one.
Step 3 Prepare for Fluid Drainage
Before removing the hose, place an oil catch pan underneath to catch the power steering fluid that will leak out. Check your vehicle’s manual for specific information regarding your power steering system.
Step 4 Remove the Old Hose
Using the appropriate wrench or socket, loosen the fitting that connects the power steering hose to the steering gear. Be prepared for fluid to leak out when you detach the hose. If the hose is secured with clamps, use pliers to remove them, ensuring not to damage surrounding parts.
Once the hose is disconnected at the steering gear, move to the other end connected to the reservoir. Again, loosen the fitting and remove the hose. Dispose of the old hose and fluid properly.
how to change the power steering hose

Step 5 Install the New Hose
Take your new power steering hose and connect it to the steering gear first. Make sure it fits snugly and securely. If it requires clamps, ensure they are tight enough to prevent any leaks.
Next, connect the hose to the power steering reservoir. Remember to tighten the fittings securely on both ends but avoid over-tightening, which can damage the threads.
Step 6 Fill with Power Steering Fluid
Once the new hose is securely in place, it’s time to refill the power steering reservoir with new power steering fluid. Use a funnel to avoid spills and check your vehicle’s manual for the correct type of fluid to use. Fill the reservoir to the recommended level.
Step 7 Bleed the Power Steering System
After filling, it’s essential to bleed the power steering system to remove any air pockets that may have formed during the hose replacement. Start the engine and turn the steering wheel from lock to lock several times, pausing briefly at each end. Check the fluid level and add more if necessary.
Step 8 Check for Leaks
With the engine running and the steering wheel turned, visually inspect the connections to ensure there are no leaks. If you notice any fluid escaping, tighten the fittings as needed.
Step 9 Final Checks
Once you’ve confirmed that there are no leaks and the fluid is at the proper level, close the hood, and take your vehicle for a short test drive. Pay attention to the steering feel and check again for leaks after the drive.
Conclusion
Changing a power steering hose may seem daunting, but with the right tools and knowledge, it can be a straightforward task. Regular maintenance of your steering system will ensure your vehicle drives smoothly and safely. If you encounter any issues or feel unsure about the process, don’t hesitate to consult a professional mechanic.
-
Ultimate Spiral Protection for Hoses & CablesNewsJun.26,2025
-
The Ultimate Quick-Connect Solutions for Every NeedNewsJun.26,2025
-
SAE J1401 Brake Hose: Reliable Choice for Safe BrakingNewsJun.26,2025
-
Reliable J2064 A/C Hoses for Real-World Cooling NeedsNewsJun.26,2025
-
Heavy-Duty Sewer Jetting Hoses Built to LastNewsJun.26,2025
-
Fix Power Steering Tube Leaks Fast – Durable & Affordable SolutionNewsJun.26,2025

