Guidelines for Proper Installation of Air Conditioner Piping Systems for Optimal Performance and Efficiency
Air Conditioner Piping Installation A Comprehensive Guide
Air conditioning systems have become an essential part of modern living, offering comfort in hot weather. However, the efficiency and longevity of an air conditioner largely depend on the correct installation of its piping. The installation process is not just about connecting pipes; it involves precise techniques and adherence to safety standards. This article will outline the key steps and considerations involved in air conditioner piping installation.
Understanding the Types of Piping
Before installation, it's crucial to choose the appropriate type of piping. Most air conditioning systems use copper or aluminum pipes. Copper is preferred for its durability and effectiveness in heat exchange. It is resistant to corrosion and can withstand high pressure, making it a popular choice for refrigerant lines. Aluminum is lighter and less expensive but may not have the same longevity as copper.
The Importance of Proper Sizing
Selecting the right size of piping is vital for the system's efficiency. Pipes that are too small can restrict the flow of refrigerant, leading to increased pressure and less effective cooling. Conversely, pipes that are too large may result in insufficient refrigerant velocity, reducing the system's efficiency. When installing, be sure to follow the manufacturer's guidelines regarding pipe sizes based on your specific model.
Installation Steps
1. Planning the Route Before installation, plan the route for the piping. This involves deciding how the pipes will run from the indoor unit to the outdoor condenser. Consider factors such as structural obstacles, aesthetics, and ease of access for future maintenance.
2. Cutting the Pipe Use a pipe cutter to ensure that the edges are clean and deburred. This is particularly important for copper pipes, as rough edges can lead to leaks.
air conditioner piping installation

3. Bending the Pipe When bending the pipe, use a pipe bender to avoid kinking, which can restrict refrigerant flow. The bends should be gentle and gradual.
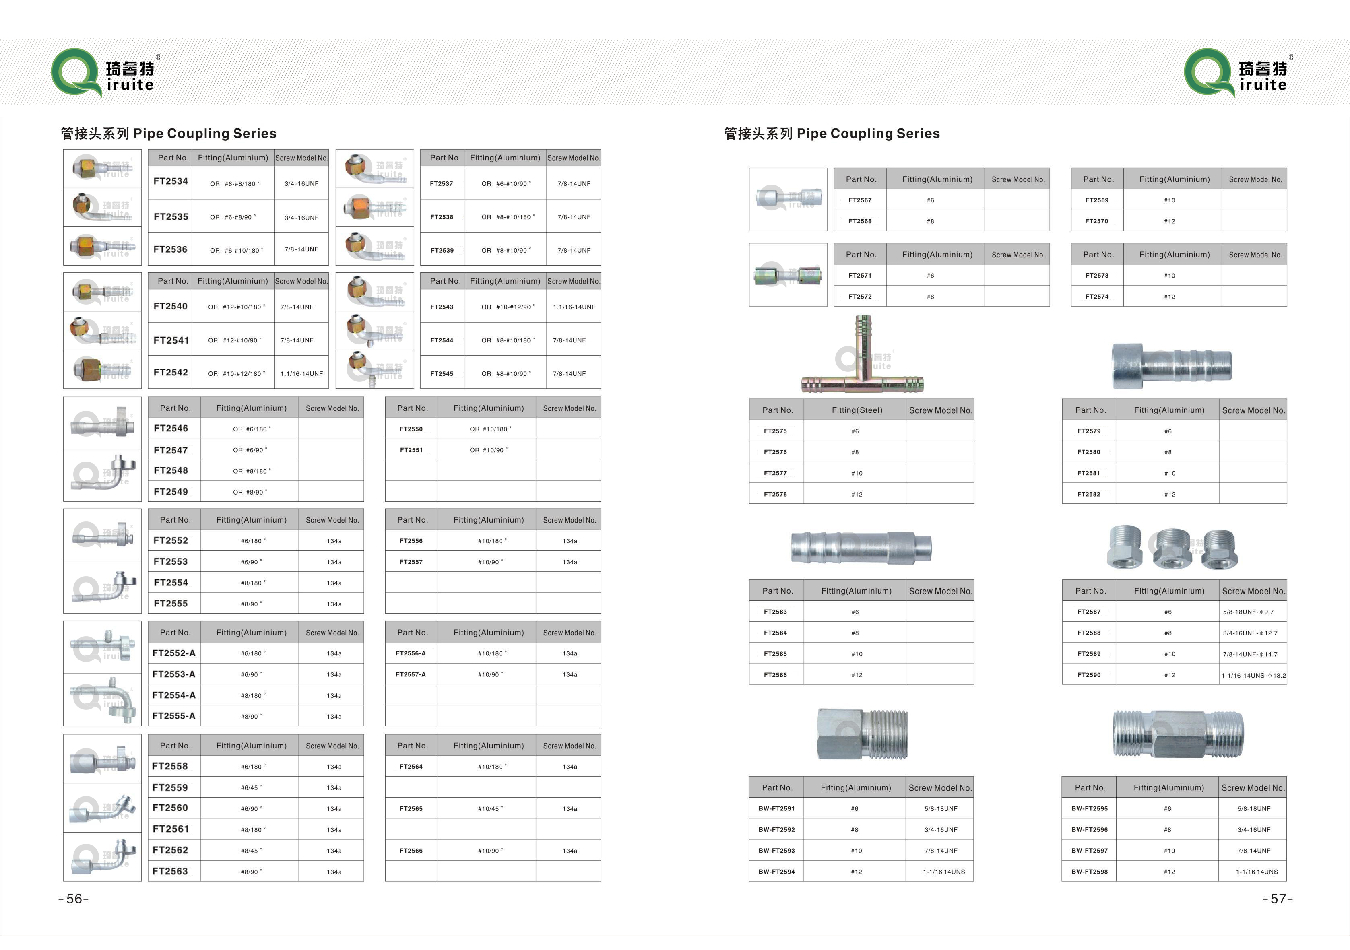
4. Connecting the Pipes Use appropriate fittings to connect the pipes. Ensure that the connections are tight and use Teflon tape to prevent leaks. For soldering, ensure that the joints are clean and apply flux to promote good adhesion.
5. Insulating the Pipes Insulation is vital to prevent energy loss and condensation. Use foam insulation on the refrigerant lines, particularly those exposed to outdoor elements. Proper insulation not only enhances efficiency but also protects against potential water damage.
Testing for Leaks
After installation, it is essential to test for leaks. Use a manifold gauge set to check the pressure and look for fluctuations that may indicate a leak. Additionally, a soap and water solution can be applied to joints and connections; any bubbling will signify a leak that needs addressing.
Maintenance Considerations
Once the piping is installed, regular maintenance is necessary to ensure optimal performance. This includes checking for wear and tear, inspecting insulation, and ensuring that connections remain secure. Regular maintenance will not only enhance efficiency but can also prolong the lifespan of the air conditioning system.
Conclusion
Proper air conditioner piping installation is crucial for maximizing the system's efficiency and ensuring its longevity. By understanding the types of piping, ensuring proper sizing, following the correct installation steps, and conducting regular maintenance, you can enjoy a comfortable environment without the worry of inefficient cooling or costly repairs. Remember, if you are unsure about any aspect of the installation, it is always best to consult with a professional to ensure everything is done correctly and safely.
-
Ultimate Spiral Protection for Hoses & CablesNewsJun.26,2025
-
The Ultimate Quick-Connect Solutions for Every NeedNewsJun.26,2025
-
SAE J1401 Brake Hose: Reliable Choice for Safe BrakingNewsJun.26,2025
-
Reliable J2064 A/C Hoses for Real-World Cooling NeedsNewsJun.26,2025
-
Heavy-Duty Sewer Jetting Hoses Built to LastNewsJun.26,2025
-
Fix Power Steering Tube Leaks Fast – Durable & Affordable SolutionNewsJun.26,2025

