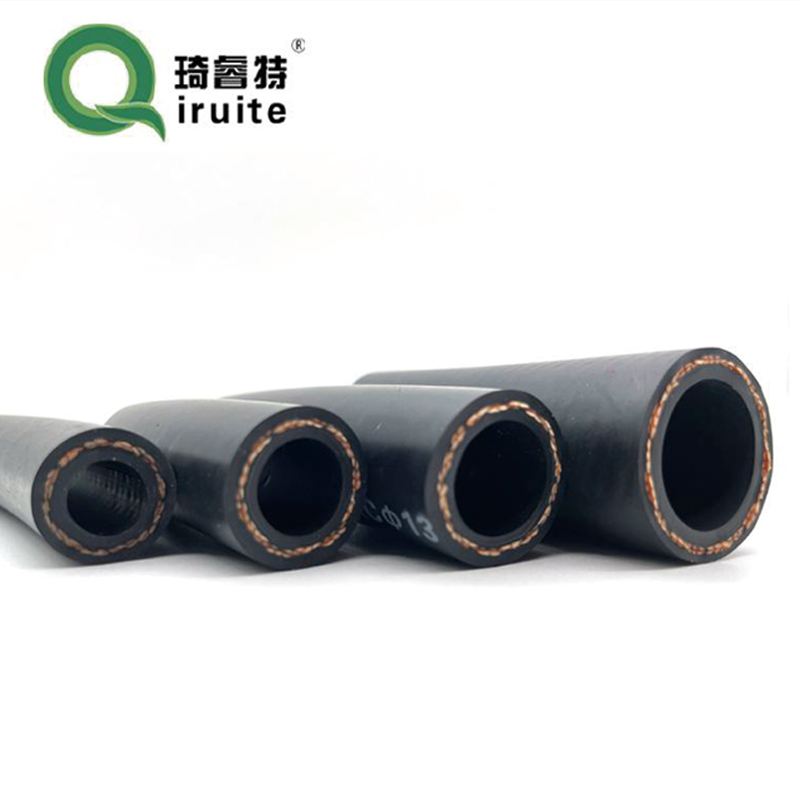
Car AC Rubber Hose Repair Services | Fast & Reliable Solutions
Car Air Conditioning Rubber Hose Repair A Comprehensive Guide
Car air conditioning systems play a vital role in providing comfort during hot weather, making it essential for them to function effectively. One of the crucial components of these systems is the rubber hose, which transports refrigerant throughout the AC unit. However, rubber hoses can deteriorate over time, leading to leaks and ultimately causing AC failure. In this article, we will discuss how to identify issues with your car’s air conditioning rubber hose, the repair process, and tips for maintaining your AC system.
Identifying Problems with the Rubber Hose
The first step in addressing air conditioning issues is to recognize the symptoms of a damaged rubber hose. Common signs include
1. Reduced Cooling Performance If you notice that your car’s AC isn’t blowing cold air as it used to, it could be due to a leak in the rubber hose.
2. Hissing or Bubbling Sounds Unusual noises coming from the AC system could indicate that refrigerant is escaping through a damaged hose.
3. Visual Inspection If you can access the rubber hoses, look for signs of wear and tear such as cracks, bulges, or any fluid around the hose connections.
4. Increased Refrigerant Consumption A failing hose can cause refrigerant to leak, leading to frequent refills.
Repairing the Rubber Hose
If you suspect that your car’s air conditioning hose is damaged, you may need to repair or replace it. Here’s a step-by-step guide on how to proceed
1. Safety First Ensure the car is turned off, and the keys are removed from the ignition before starting any repairs. Additionally, it’s advisable to wear protective gloves.
car ac rubber hose repair

2. Locate the Problematic Hose Determine which hose is causing the issue by following the refrigerant lines.
3. Remove the Damaged Hose Carefully disconnect the hose from the fittings. You may need to use a hose clamp tool to loosen any clamps holding the hose in place.
4. Choose the Right Replacement When replacing a rubber hose, ensure the new hose is compatible with your vehicle model. It’s often advised to use high-quality, heat-resistant rubber to prevent future deterioration.
5. Install the New Hose Attach the new hose securely to the fittings. Make sure that the connections are tight, but avoid overtightening, as this can cause damage.
6. Recharge the AC System After replacing the hose, the air conditioning system needs to be recharged with refrigerant. This step is crucial to restore cooling efficiency.
7. Test the System Start the car and turn on the AC to ensure that it is working properly and that there are no leaks.
Maintaining Your AC System
To avoid future issues with your car's air conditioning rubber hose, consider the following maintenance tips
- Regular Inspections Periodically check the condition of the rubber hoses and other components in the AC system. - Keep It Clean Ensure that the area around the AC components is clean and free of debris that could cause damage. - Professional Servicing Schedule routine maintenance checks with a qualified mechanic to inspect the AC system thoroughly.
In conclusion, regular inspection and timely repair of your car's air conditioning rubber hose can ensure that your system runs efficiently, providing you with the comfort you need on the road. If you are not comfortable performing repairs yourself, consult with a professional mechanic to handle the job safely and effectively. Your car's air conditioning will thank you!
-
Ultimate Spiral Protection for Hoses & CablesNewsJun.26,2025
-
The Ultimate Quick-Connect Solutions for Every NeedNewsJun.26,2025
-
SAE J1401 Brake Hose: Reliable Choice for Safe BrakingNewsJun.26,2025
-
Reliable J2064 A/C Hoses for Real-World Cooling NeedsNewsJun.26,2025
-
Heavy-Duty Sewer Jetting Hoses Built to LastNewsJun.26,2025
-
Fix Power Steering Tube Leaks Fast – Durable & Affordable SolutionNewsJun.26,2025

