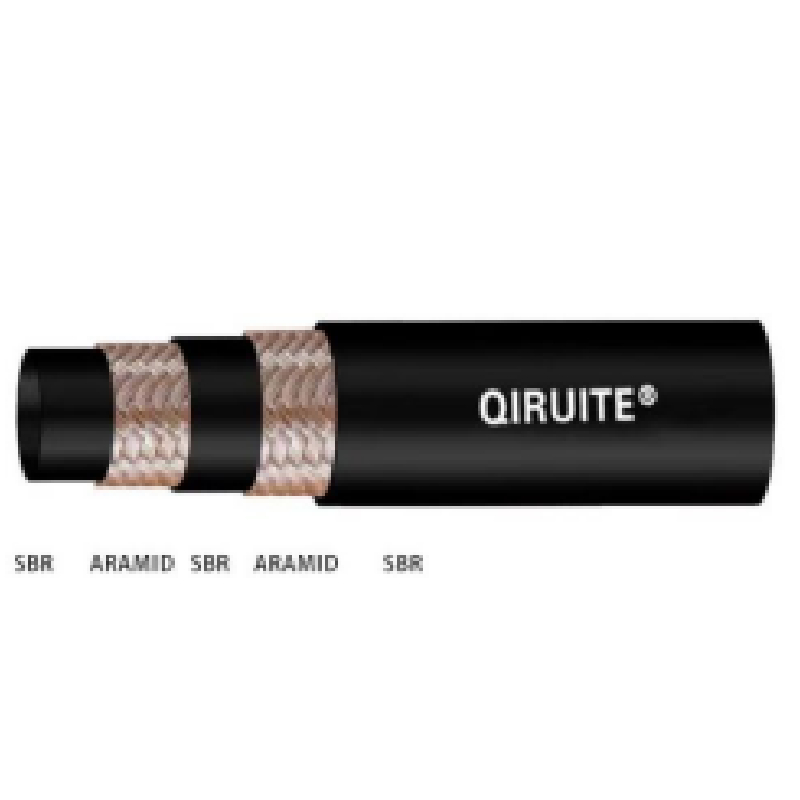
Replacing the Vacuum Hose for Your Brake Booster System Efficiently and Effectively
Replacing the Brake Booster Vacuum Hose A Step-by-Step Guide
The brake booster vacuum hose is an essential component in your vehicle’s braking system. It works by amplifying the force applied to the brake pedal, ensuring that you can stop your vehicle effectively and safely. Over time, this hose can wear out, crack, or become blocked, leading to reduced braking efficiency. If you suspect that your brake booster vacuum hose needs replacing, follow these steps to ensure a successful replacement.
Tools and Materials Needed
Before you begin, gather all necessary tools and materials. You will typically need - A new brake booster vacuum hose - A set of screwdrivers - Pliers - A socket wrench set - Vacuum gauge (optional) - Cleaning cloth
Safety Precautions
Always start with safety. Ensure your vehicle is parked on a flat surface, and engage the parking brake. It’s advisable to wear safety goggles and gloves to protect yourself from any debris or sharp edges.
Step 1 Locate the Brake Booster Vacuum Hose
The brake booster vacuum hose usually runs from the intake manifold to the brake booster. Refer to your vehicle’s service manual for the exact location, as it can vary between models.
Step 2 Inspect the Hose
brake booster vacuum hose replacement

Before proceeding to replace the hose, inspect it for any visible damage, wear, or blockages. Look for cracks, fraying, or soft spots. If you notice any issues, it's undoubtedly time for a replacement.
Step 3 Disconnect the Old Hose
Using your pliers or a screwdriver, carefully remove the clamps securing the old vacuum hose to the brake booster and the intake manifold. Gently pull the hose off—if it’s stuck, twist it slightly to loosen it.
Step 4 Install the New Hose
Take your new brake booster vacuum hose and ensure it matches the old one in terms of size and length. Connect one end of the new hose to the brake booster and the other to the intake manifold. Secure both connections with clamps, ensuring they are tight but not overtightened, which could damage the hose.
Step 5 Test the Installation
After the new hose is installed, it’s crucial to test your brakes. Start the vehicle and press the brake pedal several times. If the pedal feels firm and responsive, you're on the right track. For a thorough check, consider using a vacuum gauge to measure the vacuum levels at the brake booster.
Conclusion
Replacing the brake booster vacuum hose is a relatively simple task that can significantly affect your vehicle's braking performance. Regular maintenance and timely replacement of worn-out components, like this hose, contribute to safe driving. If you encounter any issues or feel uncomfortable performing this replacement, don’t hesitate to consult a professional mechanic for assistance. Your safety should always come first.
-
Ultimate Spiral Protection for Hoses & CablesNewsJun.26,2025
-
The Ultimate Quick-Connect Solutions for Every NeedNewsJun.26,2025
-
SAE J1401 Brake Hose: Reliable Choice for Safe BrakingNewsJun.26,2025
-
Reliable J2064 A/C Hoses for Real-World Cooling NeedsNewsJun.26,2025
-
Heavy-Duty Sewer Jetting Hoses Built to LastNewsJun.26,2025
-
Fix Power Steering Tube Leaks Fast – Durable & Affordable SolutionNewsJun.26,2025

