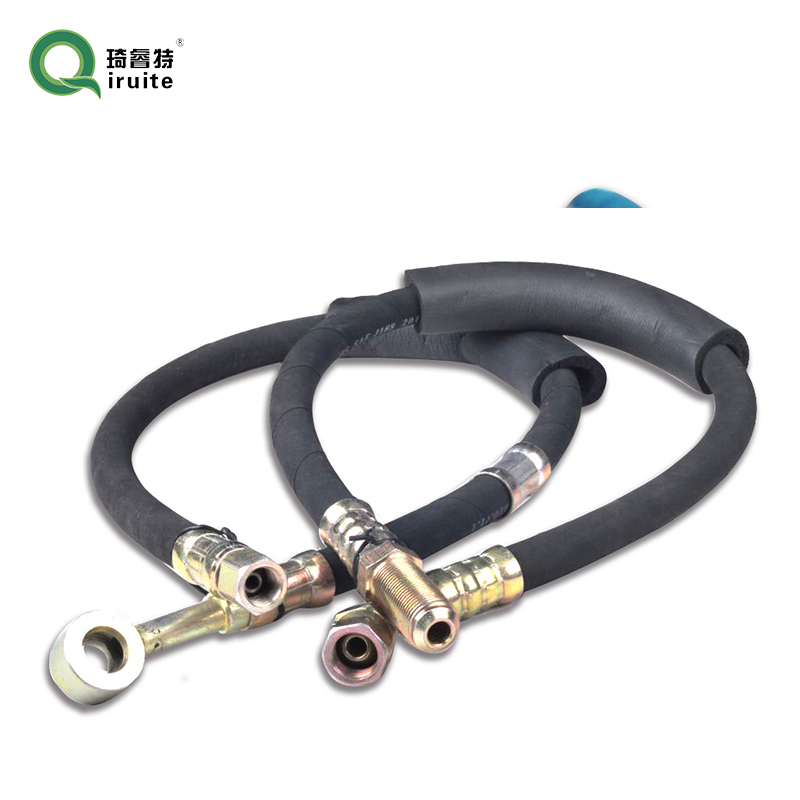
Replacing the Hose for Your Car's Air Conditioning System Made Easy
Car Air Conditioner Hose Replacement A Comprehensive Guide
The air conditioner (AC) in your vehicle is essential for comfort, especially during hot days. However, like any other part of your car, the AC system can develop issues, and one common culprit is the AC hoses. Over time, these hoses can become damaged or worn out due to heat, wear, and exposure to various elements. If you find yourself in a situation where you need to replace your car's air conditioner hose, this guide will walk you through the process.
Understanding AC Hoses
The AC system in your vehicle consists of several components, including the compressor, evaporator, condenser, and several hoses that connect them. The hoses are responsible for transporting refrigerant throughout the system. There are typically two types of hoses the high-pressure and low-pressure hoses. The high-pressure hose carries refrigerant from the compressor to the condenser, while the low-pressure hose carries refrigerant back to the compressor from the evaporator.
Signs of Hose Damage
Before you proceed with the replacement, it's crucial to identify signs that your AC hoses may be damaged. Common indications include
- Leaking Refrigerant If you notice oily spots or moisture around the hoses, it could indicate a refrigerant leak. - Poor Cooling Performance If your air conditioner isn’t cooling effectively, it may be due to a faulty hose. - Unusual Noises Hissing or bubbling sounds can indicate that the refrigerant is escaping from a damaged hose. - Visible Wear and Tear Cracks, frays, or crushed areas on the hoses are clear signs that they need to be replaced.
Replacing the AC Hose Step-by-Step Instructions
Tools and Materials Needed
Before starting the replacement, gather the following tools and materials
- New AC hose - Wrench set - Screwdrivers - AC manifold gauge set - Refrigerant (if necessary) - Safety glasses and gloves
Step 1 Safety First
Begin by ensuring your vehicle is parked in a well-ventilated area. Turn off the engine and detach the battery to avoid any electrical mishaps. It's also essential to wear safety glasses and gloves to protect yourself from refrigerant.
Step 2 Locate the Damaged Hose
car air conditioner hose replacement

Identify which hose needs replacing
. Consult your vehicle’s manual if you are unsure of the specific location of the hoses.Step 3 Recover the Refrigerant
Using the AC manifold gauge set, carefully recover any remaining refrigerant from the system. This step is crucial to avoid releasing harmful substances into the atmosphere.
Step 4 Remove the Damaged Hose
Using your wrench and screwdriver, carefully detach the damaged hose from the AC system. Be cautious of any residual refrigerant that may still be in the system. Ensure that the connections are clean and free of debris.
Step 5 Install the New Hose
Take the new hose and connect it to the appropriate fittings, ensuring a tight and secure fit. Follow any specific instructions provided with your new hose to ensure proper installation.
Step 6 Recharge the AC System
Once the new hose is installed, you will need to recharge the AC system with refrigerant. Follow the manufacturer's instructions for the correct type and amount of refrigerant to use.
Step 7 Test the AC System
After recharging, reconnect the battery and start your vehicle. Turn on the AC to ensure that it is functioning properly and that there are no leaks.
Conclusion
Replacing the AC hose in your car can seem daunting, but with the right tools and knowledge, it can be a straightforward process. If you're unsure about any step or do not feel comfortable performing the replacement yourself, it’s always best to consult with a professional mechanic. Regular maintenance of your AC system can also prevent issues, ensuring that you stay cool and comfortable during the warmer months.
-
Ultimate Spiral Protection for Hoses & CablesNewsJun.26,2025
-
The Ultimate Quick-Connect Solutions for Every NeedNewsJun.26,2025
-
SAE J1401 Brake Hose: Reliable Choice for Safe BrakingNewsJun.26,2025
-
Reliable J2064 A/C Hoses for Real-World Cooling NeedsNewsJun.26,2025
-
Heavy-Duty Sewer Jetting Hoses Built to LastNewsJun.26,2025
-
Fix Power Steering Tube Leaks Fast – Durable & Affordable SolutionNewsJun.26,2025

