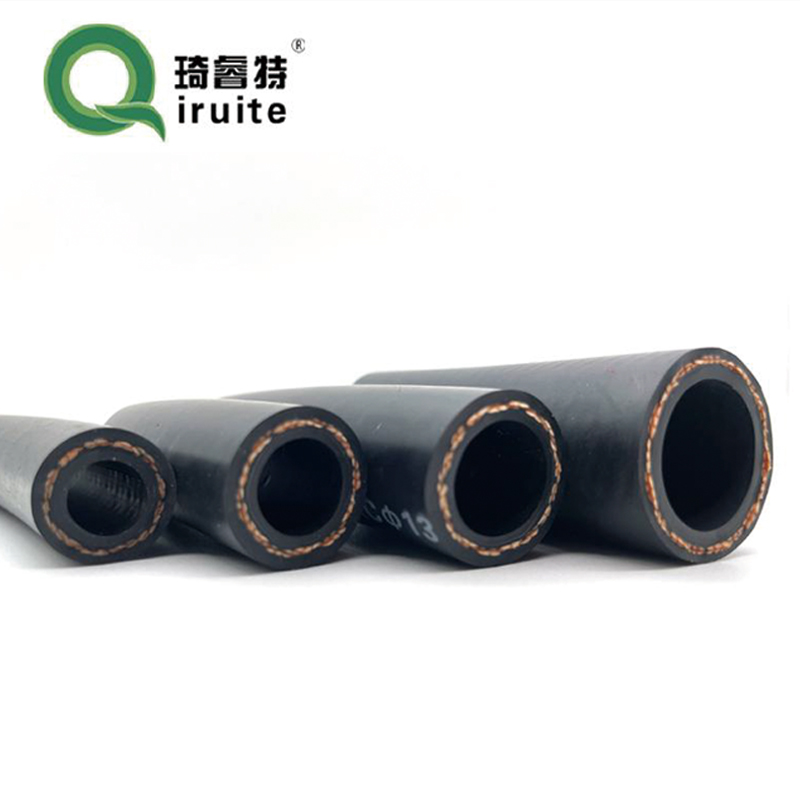
Replacing the Hose for Your Brake Booster System Efficiently and Effectively
Brake Booster Hose Replacement A Comprehensive Guide
The brake booster hose is a critical component in a vehicle’s braking system, linking the brake booster to the engine's intake manifold. Its primary function is to provide the necessary vacuum to assist with braking, making the process smoother and more efficient. Over time, due to wear and tear, exposure to heat, and other environmental factors, the brake booster hose can deteriorate, leading to reduced braking efficiency or brake failure. Therefore, knowing how to replace a faulty brake booster hose is essential for maintaining vehicle safety. This guide will walk you through the necessary steps for a successful brake booster hose replacement.
Step 1 Gather Your Tools and Materials
Before starting the replacement, ensure you have all the necessary tools and materials - A new brake booster hose - A basic tool kit (wrenches, screwdrivers, pliers) - A vacuum gauge (optional, for testing) - Safety goggles and gloves - Engine cleaner (optional, for cleaning the area)
Step 2 Safety First
Before working on the vehicle, always prioritize safety. Park the vehicle on a flat surface and engage the parking brake. If possible, disconnect the battery to avoid any electrical issues. Wear safety goggles and gloves to protect yourself while working.
Step 3 Locate the Brake Booster Hose
Open the hood of your vehicle and locate the brake booster. It is typically mounted on the firewall and is round or oval in shape. Follow the hose that connects the brake booster to the engine’s intake manifold. This is the brake booster hose that you will be replacing.
Step 4 Inspect the Hose
Before proceeding with the removal, inspect the brake booster hose for any visible signs of wear, such as cracks, bulges, or leaks. If you notice any signs of damage, it’s crucial to replace the hose to ensure optimal brake performance.
brake booster hose replacement

Step 5 Remove the Old Hose
Using the appropriate tools, carefully disconnect the old brake booster hose from both the brake booster and the intake manifold. Be cautious to avoid damaging any fittings or surrounding components. You may need to loosen clamps or fittings with a wrench to make the removal process easier. Once disconnected, inspect the fittings for any debris or damage that may need addressing before installing the new hose.
Step 6 Install the New Brake Booster Hose
Take your new brake booster hose and ensure it matches the specifications of the old hose. Position the new hose in place, connecting it first to the brake booster and then to the intake manifold. Secure both ends firmly, ensuring that clamps are tightened and fittings are sealed properly. This step is crucial to prevent any vacuum leaks that could affect brake performance.
Step 7 Test the System
Once the new hose is installed, reconnect the battery if it was disconnected. Start the engine and let it idle for a few minutes while you check for any hissing sounds or visible leaks around the connections. You can also use a vacuum gauge to check the vacuum pressure to ensure that the brake booster is functioning properly.
Step 8 Clean Up
Once you’ve confirmed that everything is working correctly, clean up the area, disposing of the old hose and any materials safely. It’s also a good idea to take a test drive to ensure that the brakes are functioning smoothly, and that the vehicle handles properly.
Conclusion
Replacing the brake booster hose is a manageable task that can significantly impact your vehicle’s safety and performance. Regular inspection and maintenance can help prevent issues before they occur, ensuring that your vehicle remains safe to drive. If you are ever uncertain about the repair, consulting a professional mechanic is always a wise decision. Proper care and attention to your vehicle’s braking system are key to safe driving.
-
Ultimate Spiral Protection for Hoses & CablesNewsJun.26,2025
-
The Ultimate Quick-Connect Solutions for Every NeedNewsJun.26,2025
-
SAE J1401 Brake Hose: Reliable Choice for Safe BrakingNewsJun.26,2025
-
Reliable J2064 A/C Hoses for Real-World Cooling NeedsNewsJun.26,2025
-
Heavy-Duty Sewer Jetting Hoses Built to LastNewsJun.26,2025
-
Fix Power Steering Tube Leaks Fast – Durable & Affordable SolutionNewsJun.26,2025

