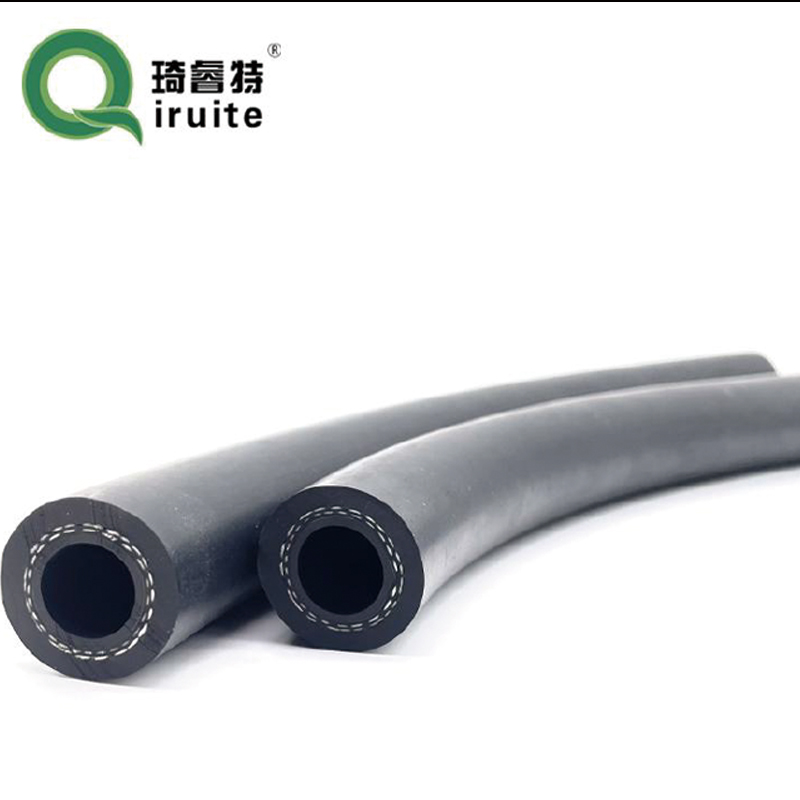
how do you change a power steering hose
Changing a power steering hose can seem like a daunting task, but with the right tools and guidance, it can be accomplished by most car owners. The power steering system plays a crucial role in ensuring that your vehicle is easy to handle. If you notice leaks, whining noises, or difficulty steering, it might be a sign that the power steering hose needs to be replaced. Here’s a step-by-step guide on how to change a power steering hose.
Tools and Materials Needed
Before starting the process, it’s essential to assemble the necessary tools and materials. You will need
- A new power steering hose - Fluid for the power steering system - Wrench set - Pliers - Screwdrivers (flathead and Phillips) - A drain pan - Rags or paper towels - Safety glasses and gloves
Step 1 Safety First
Before you begin any work on your vehicle, it’s crucial to ensure your safety. Park the car on a flat surface, turn off the engine, and engage the parking brake. Wait until the engine cools down to avoid burns from hot components.
Step 2 Locate the Power Steering Hose
The power steering hose connects the power steering pump to the steering gear. Open the hood and identify the power steering fluid reservoir—usually labeled. You will see two hoses connected to the power steering pump; the low-pressure return hose is generally larger, while the high-pressure hose is smaller and connects directly to the pump.
Step 3 Release Pressure
Before disconnecting any hoses, it’s essential to relieve the pressure within the system. Start the engine briefly while turning the steering wheel from lock to lock. This action will help release any built-up pressure in the power steering system. Turn off the engine afterward.
Step 4 Disconnect the Old Hose
how do you change a power steering hose

Using pliers or a wrench, loosen the clamps holding the old hose in place. Carefully detach the hose from the pump and steering gear. Be prepared for some fluid leakage; place the drain pan beneath the joints to catch any excess fluid. Remove the old hose entirely, and inspect the area for any damage or debris.
Step 5 Install the New Hose
Take your new power steering hose and match it with the old one to ensure it is the correct fit. Install the new hose by attaching one end to the power steering pump and the other end to the steering gear. Ensure that all connections are tight but be careful not to overtighten and damage the fittings.
Step 6 Fill the Power Steering Fluid
With the new hose in place, it’s time to fill the power steering reservoir. Use the appropriate power steering fluid for your vehicle, which can usually be found in the owner’s manual. Fill up the reservoir to the appropriate level, taking care not to overfill.
Step 7 Bleed the Power Steering System
To remove any air trapped in the system, start the engine and turn the steering wheel from lock to lock several times. Check the fluid level and add more if necessary. This bleeding process ensures smooth steering and eliminates any potential air pockets that could lead to steering issues.
Step 8 Check for Leaks
Once you’ve completed the installation and the system is bled, turn off the engine and inspect all connections for leaks. It’s crucial to ensure that the new hose is secure and that there are no signs of fluid escaping.
Conclusion
Changing a power steering hose can save you money and give you a sense of accomplishment. By following these steps, you can tackle the job with confidence. Remember to regularly check your power steering system for leaks and maintain the fluid level for optimal performance. If at any point you feel unsure, don’t hesitate to consult a professional mechanic. Regular maintenance is key to keeping your vehicle running smoothly, ensuring not just your safety but also the longevity of your car.
-
Ultimate Spiral Protection for Hoses & CablesNewsJun.26,2025
-
The Ultimate Quick-Connect Solutions for Every NeedNewsJun.26,2025
-
SAE J1401 Brake Hose: Reliable Choice for Safe BrakingNewsJun.26,2025
-
Reliable J2064 A/C Hoses for Real-World Cooling NeedsNewsJun.26,2025
-
Heavy-Duty Sewer Jetting Hoses Built to LastNewsJun.26,2025
-
Fix Power Steering Tube Leaks Fast – Durable & Affordable SolutionNewsJun.26,2025

