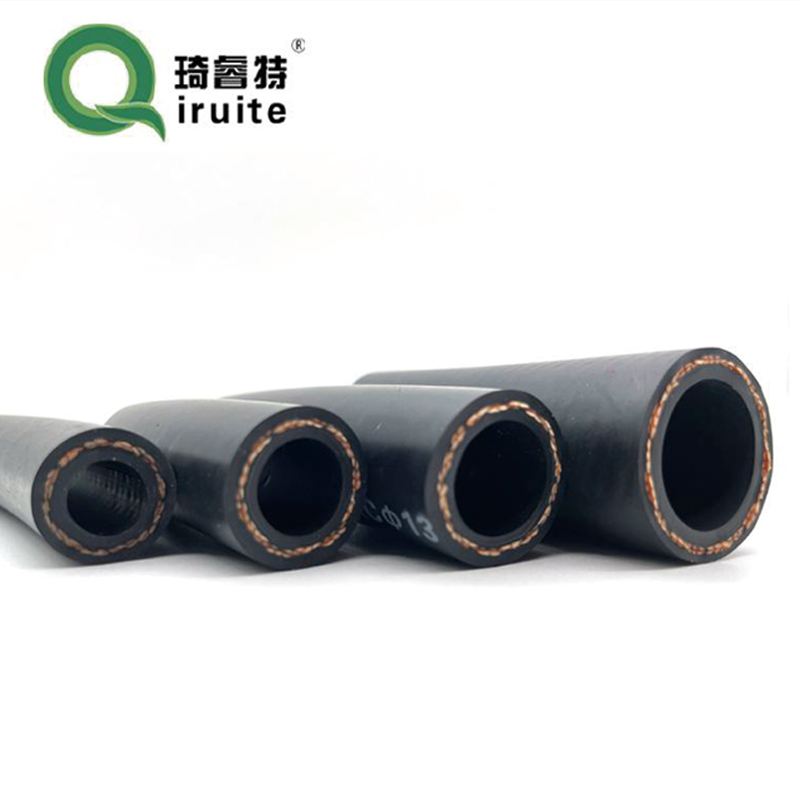
brake line splice kit
Understanding Brake Line Splice Kits A Comprehensive Guide
Brake line splice kits are essential components in automotive maintenance, particularly for vehicles that have suffered damage to their brake lines. The integrity of the brake system is paramount for vehicle safety, and splicing damaged lines can help restore functionality without the necessity of replacing entire brake systems. This article delves into the purpose, types, installation process, and maintenance considerations of brake line splice kits.
What are Brake Line Splice Kits?
A brake line splice kit typically includes various fittings, connectors, and tubing designed to join two sections of brake line. They are often used when a brake line has corroded, cracked, or otherwise become compromised. Instead of replacing the entire line, which can be both time-consuming and costly, mechanics and DIY enthusiasts can use a splice kit to make a secure connection that restores functionality.
Types of Brake Line Splice Kits
There are several types of brake line splice kits available, and choosing the right one is crucial for effective repairs. The most common types include
1. Compression Fittings These fittings slide over the ends of the damaged brake lines and are tightened to create a secure seal. They are easy to install and can be used with different types of brake lines.
2. Barbed Fittings This type features a series of ridges that grip the inside of the brake line when inserted. These are often used for rubber lines and require hose clamps for secure attachment.
3. Flare Fittings These kits require the ends of the brake lines to be flared before installation. The flared ends are then connected securely, ensuring a leak-proof seal.
brake line splice kit

Installation Process
Installing a brake line splice kit is a relatively straightforward process, but it requires precision and care. Here is a general step-by-step guide
1. Safety First Start by ensuring the vehicle is on a level surface and secure it with jack stands. Disconnect the battery to prevent any electrical issues.
2. Identify the Damage Locate the damaged section of the brake line and clean the area around it to allow for clear visibility and accessibility.
3. Cut the Brake Line Use a pipe cutter or suitable cutting tool to remove the compromised section of the line. Ensure the edges are smooth to facilitate the installation of the splice kit.
4. Install the Splice Kit Depending on the type of kit, follow the specific instructions provided. This may involve inserting the fitting, securing it with clamps, or flaring the ends.
5. Test for Leaks Once the installation is complete, reconnect the battery and pump the brake pedal to build pressure. Check for any leaks at the splice area before driving the vehicle.
Maintenance Considerations
After installation, regular maintenance is crucial to ensure the longevity and reliability of the repair. Inspect the splice regularly for signs of wear, leaks, or corrosion. Keeping the brake lines clean and protected from road salt and debris can also help extend their lifespan.
In summary, brake line splice kits provide an effective and economical solution for repairing damaged brake lines. By understanding the various types available and following the correct installation procedures, vehicle owners can maintain their brake systems and ensure their safety on the road. Always prioritize safety and consult a professional if unsure about any aspect of brake line repairs.
-
Ultimate Spiral Protection for Hoses & CablesNewsJun.26,2025
-
The Ultimate Quick-Connect Solutions for Every NeedNewsJun.26,2025
-
SAE J1401 Brake Hose: Reliable Choice for Safe BrakingNewsJun.26,2025
-
Reliable J2064 A/C Hoses for Real-World Cooling NeedsNewsJun.26,2025
-
Heavy-Duty Sewer Jetting Hoses Built to LastNewsJun.26,2025
-
Fix Power Steering Tube Leaks Fast – Durable & Affordable SolutionNewsJun.26,2025

