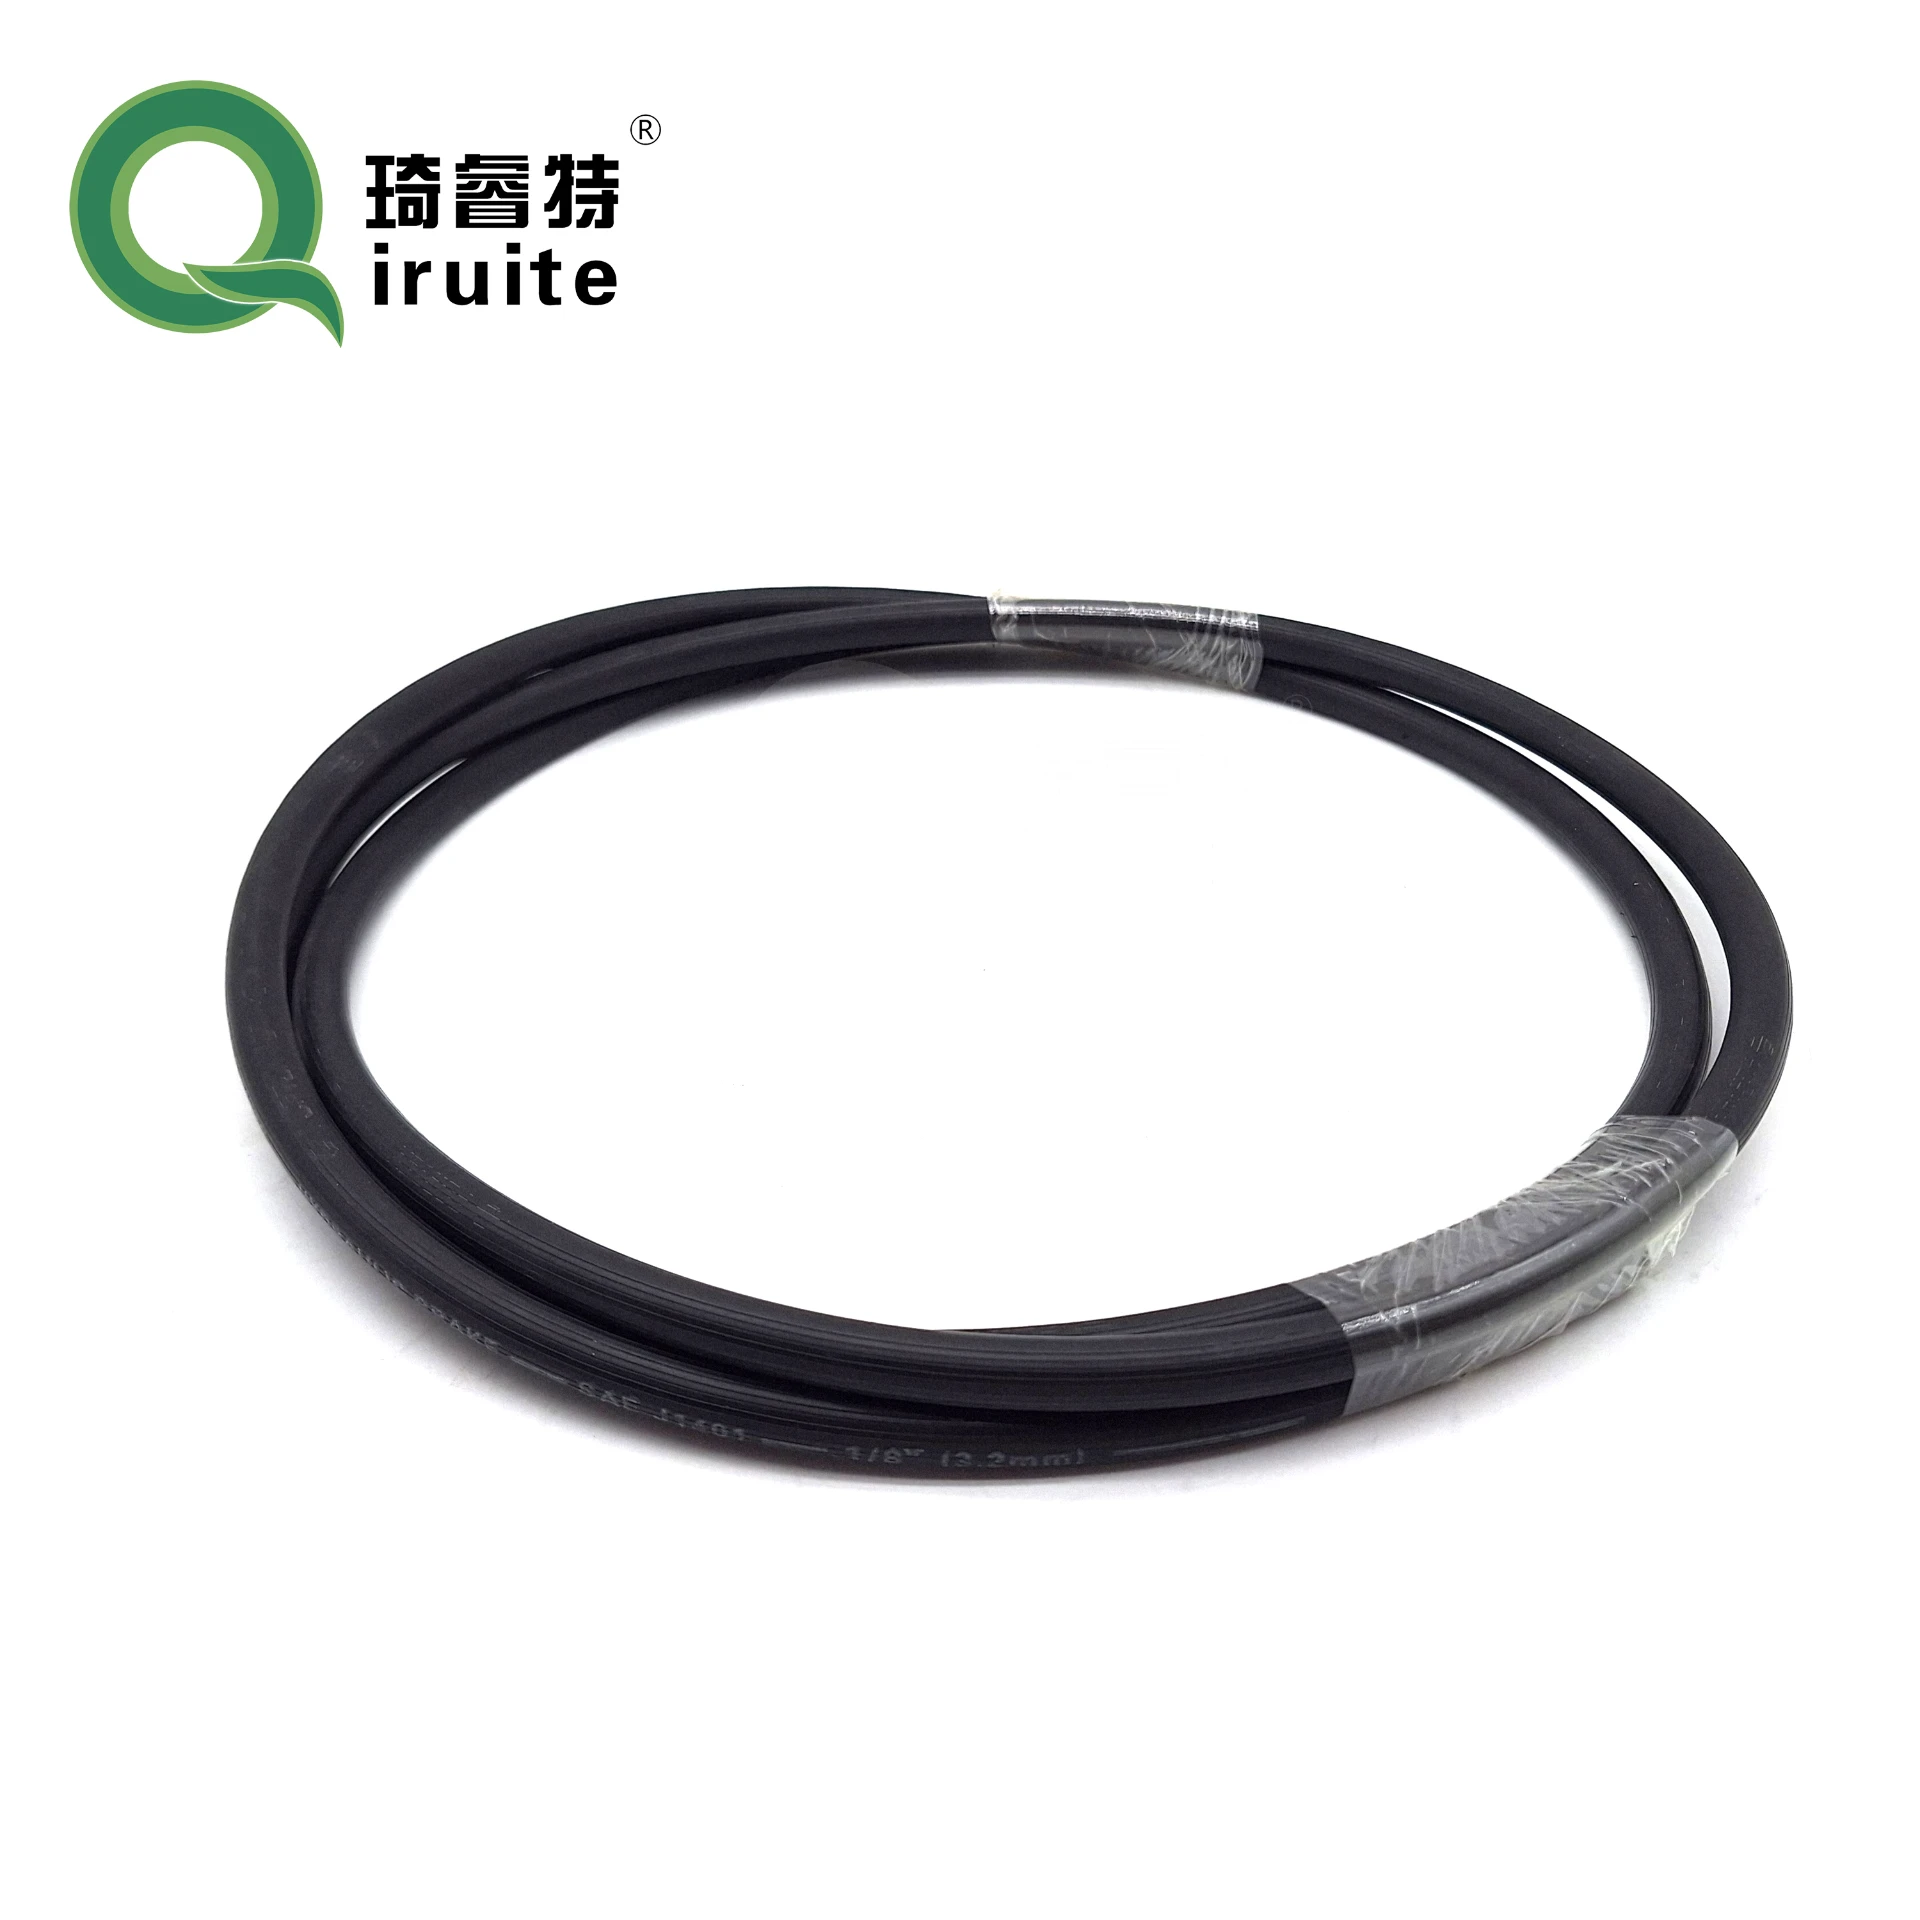
4runner power steering hose replacement
Replacing the Power Steering Hose on a Toyota 4Runner
The Toyota 4Runner is known for its off-road capabilities, durability, and reliability. However, like any vehicle, it may require maintenance and occasional repairs. One common repair that 4Runner owners may face is the replacement of the power steering hose. The power steering system is essential for easy maneuverability, especially when driving off-road or in tight spaces. A damaged or leaky power steering hose can lead to a loss of power steering fluid, resulting in difficult steering and potential damage to the steering system. Here’s a comprehensive guide on how to replace the power steering hose on your Toyota 4Runner.
Tools and Materials Needed
Before you begin, ensure you have the following tools and materials
- New power steering hose (specific to your 4Runner model) - Socket and ratchet set - Wrench set - Pliers - Drain pan - Power steering fluid - Safety glasses - Gloves - Shop towels
Step-by-Step Procedure
1. Preparation Start by parking your 4Runner on a flat surface and engaging the parking brake. Open the hood and locate the power steering reservoir. Check the fluid level to understand how much fluid you may lose during the replacement.
2. Locate the Power Steering Hose The power steering hose is typically connected to the power steering pump and the steering gear. Identify the sections of the hose you need to replace. There are usually two hoses the high-pressure hose and the return hose. Understand which one you're working on before proceeding.
3. Drain the Fluid Place a drain pan under the power steering system to catch any fluid that leaks out. Using pliers, carefully pinch the clamps that hold the hose in place and loosen them to detach the hoses. If your 4Runner has a closed system, the fluid will likely flow out once the hoses are disconnected.
4runner power steering hose replacement

4. Remove the Old Hose Use a wrench or socket to remove the bolts securing the hose at both ends. Gently wiggle the hose to detach it from the pump and steering gear. Be careful not to damage any surrounding components during removal. Once free, dispose of the old hose properly.
5. Install the New Hose Take your new power steering hose and position it where the old hose was located. Start by connecting one end to the power steering pump. Ensure that the fitting is clean and free of debris, then securely tighten the bolt to prevent leaks. Repeat the process for the other end of the hose at the steering gear.
6. Reconnect Clamps Reattach any clamps that were holding the hose in place. Make sure they are secure but avoid over-tightening, which could damage the hose.
7. Refill Power Steering Fluid Open the power steering reservoir and refill it with the appropriate type of power steering fluid. This information can be found in your owner’s manual. Allow the fluid to settle and check the level to ensure it’s filled correctly.
8. Bleed the Power Steering System Start your 4Runner and turn the steering wheel from lock to lock several times. This action will help bleed any air trapped in the power steering system. Check the fluid level again and add more fluid if necessary.
9. Check for Leaks After the installation and bleeding, check all connections to ensure there are no leaks. It's important to monitor for any signs of fluid leakage over the next few days of driving.
10. Clean Up Dispose of the old fluid and hose properly. Clean any spilled fluid off the engine bay to prevent damage to belts and other components.
Conclusion
Replacing the power steering hose on your Toyota 4Runner is a straightforward task that can significantly enhance your vehicle's performance. Regular maintenance and timely repairs contribute to the longevity and functionality of your vehicle. If you're unsure at any step, consult a professional mechanic or your vehicle’s service manual for additional guidance. With the right tools and patience, you can take care of this essential part of your 4Runner and enjoy a smooth driving experience again.
-
Ultimate Spiral Protection for Hoses & CablesNewsJun.26,2025
-
The Ultimate Quick-Connect Solutions for Every NeedNewsJun.26,2025
-
SAE J1401 Brake Hose: Reliable Choice for Safe BrakingNewsJun.26,2025
-
Reliable J2064 A/C Hoses for Real-World Cooling NeedsNewsJun.26,2025
-
Heavy-Duty Sewer Jetting Hoses Built to LastNewsJun.26,2025
-
Fix Power Steering Tube Leaks Fast – Durable & Affordable SolutionNewsJun.26,2025

