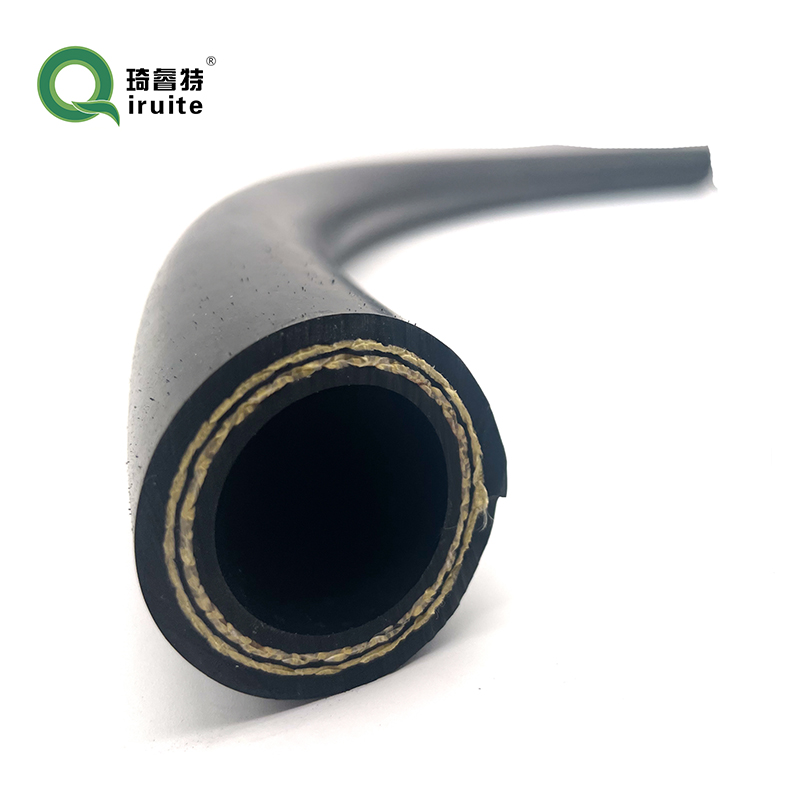
power steering hose installation
Power Steering Hose Installation A Comprehensive Guide
Power steering systems are crucial for providing drivers with the ease and control needed when maneuvering their vehicles. One essential component of this system is the power steering hose, which helps transport hydraulic fluid from the pump to the steering gear. Over time, hoses can deteriorate due to wear and heat, leading to leaks and steering difficulties. This article will outline a step-by-step guide for properly installing a power steering hose, ensuring that your vehicle remains reliable and safe on the road.
Tools and Materials Needed
Before starting the installation, gather the following tools and materials
- New power steering hose - Wrench set - Socket set - Screwdrivers (flathead and Phillips) - Pliers - Rags or shop towels - Fluid catch pan - New power steering fluid
Preparing for Installation
1. Safety First Ensure that the vehicle is parked on a flat surface with the engine off. Engage the parking brake to prevent any movement.
2. Release Pressure Open the power steering fluid reservoir cap to relieve any pressure built up in the system. This step minimizes the risk of fluid spraying during the removal of the old hose.
3. Locate the Hose Identify the power steering hose that needs to be replaced. Typically, there will be a high-pressure hose connected to the power steering pump and a return hose connected to the steering gear.
Removing the Old Hose
4. Drain Excess Fluid Position the fluid catch pan beneath the area where you are working to catch any leaking fluid when the hose is removed.
5. Disconnect the Hose Using the appropriate wrench or socket, carefully loosen and unbolt the fittings securing the old hose. Start with the steering gear connection followed by the pump connection. Be cautious as some fluid may still be trapped in the hose.
power steering hose installation

6. Remove the Hose Once both ends are disconnected, gently pull the hose away from the vehicle, taking care not to damage any surrounding components.
Installing the New Hose
7. Prepare the New Hose Before installation, compare the old hose with the new one to confirm that they are the same length and type. Inspect the new hose for any defects or damage.
8. Connect the New Hose Begin by attaching the new power steering hose to the steering gear. Use the bolts or fittings provided with the hose, being sure not to overtighten them, which could lead to damage.
9. Secure the Other End Next, connect the other end of the hose to the power steering pump. Again, use the wrench to tighten the fittings carefully.
Final Steps
10. Check for Leaks After securing both ends of the hose, double-check the connections to ensure everything is tight but not over-torqued.
11. Refill the Power Steering Fluid Pour the new power steering fluid into the reservoir. Consult your vehicle's manual for the proper type and amount of fluid necessary.
12. Bleed the System Start the engine and turn the steering wheel back and forth several times to help remove air from the system. Monitor the fluid level and add more fluid as necessary until it reaches the desired level.
13. Inspect Your Work After running the engine and bleeding the system, inspect the hose for any signs of leaks. If everything appears secure, you are good to go!
Conclusion
Installing a new power steering hose is a manageable task for anyone with basic mechanical skills. By following this step-by-step guide, you can ensure your power steering system functions effectively, providing the smooth driving experience you desire. Regular maintenance and timely replacement of worn parts will ultimately prolong the life of your vehicle and enhance its performance.
-
Ultimate Spiral Protection for Hoses & CablesNewsJun.26,2025
-
The Ultimate Quick-Connect Solutions for Every NeedNewsJun.26,2025
-
SAE J1401 Brake Hose: Reliable Choice for Safe BrakingNewsJun.26,2025
-
Reliable J2064 A/C Hoses for Real-World Cooling NeedsNewsJun.26,2025
-
Heavy-Duty Sewer Jetting Hoses Built to LastNewsJun.26,2025
-
Fix Power Steering Tube Leaks Fast – Durable & Affordable SolutionNewsJun.26,2025

