How to Replace the Vacuum Hose for Your Brake Booster Effectively and Safely
Replacing Brake Booster Vacuum Hose A Comprehensive Guide
Brake systems are critical for vehicle safety, and one of the key components in ensuring that your brakes function effectively is the brake booster. The brake booster utilizes vacuum pressure to amplify the force applied to the brake pedal, providing more responsive braking. When the brake booster vacuum hose becomes damaged or worn, it can lead to inadequate boosting, resulting in longer stopping distances and an increased risk of accidents. Therefore, replacing a faulty brake booster vacuum hose is essential for maintaining optimal brake performance.
Recognizing the Signs of a Worn Vacuum Hose
Before diving into replacement procedures, it's important to recognize the signs of a failing vacuum hose. Common symptoms include
- Hissing Noise A distinct hissing sound when pressing the brake pedal may indicate a vacuum leak. - Hard Brake Pedal If the brake pedal feels unusually hard or requires excessive effort to engage, it could suggest that the brake booster isn’t receiving enough vacuum pressure. - Increased Stopping Distance An overall decrease in braking efficiency can be a sign of a compromised vacuum hose.
Tools and Materials Needed
To replace the brake booster vacuum hose, make sure you have the following tools and materials
- New brake booster vacuum hose (specific to your vehicle make and model) - Pliers - A socket set - Screwdriver - Rags for cleanup - Safety glasses and gloves
Step-by-Step Replacement Process
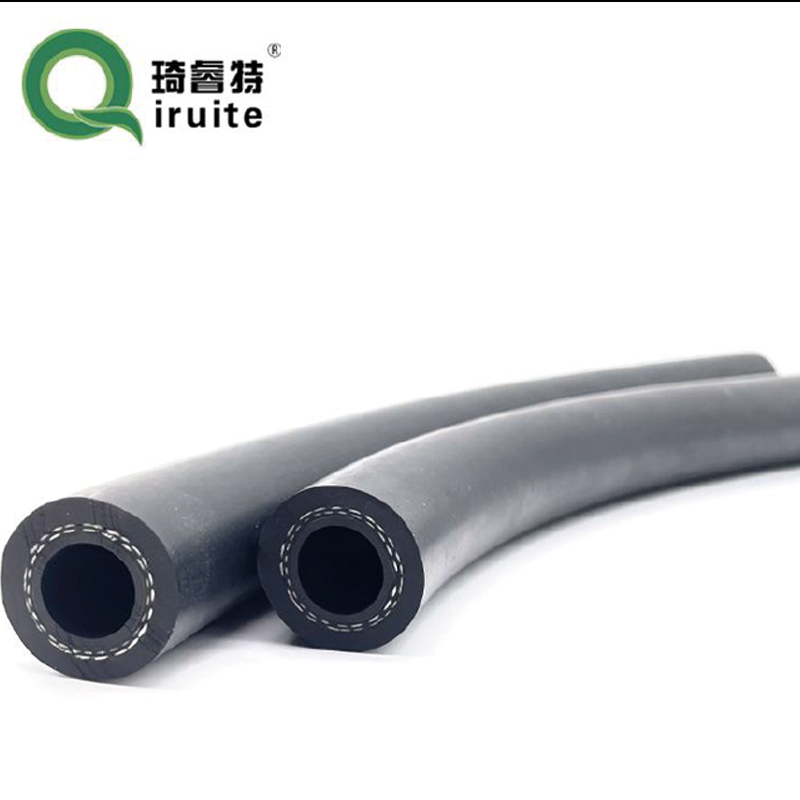
brake booster vacuum hose replacement

1. Safety First Start by ensuring your vehicle is parked on a level surface, the engine is off, and the keys are removed from the ignition. Wear safety glasses and gloves to protect yourself during the process.
2. Access the Hose Open the hood and locate the brake booster. The vacuum hose usually connects the brake booster to the intake manifold.
3. Remove the Old Hose Depending on your vehicle, you may need to remove any clamps or brackets securing the hose. Use pliers and a screwdriver to detach the hose from both ends.
4. Inspect Other Components Before installing the new hose, it's a good idea to inspect the brake booster and the intake manifold for any signs of wear or damage.
5. Install the New Hose Take the new brake booster vacuum hose and connect it to the brake booster and intake manifold. Ensure that it is securely fitted and that any clamps are tightened properly.
6. Test for Leaks After installation, start the engine and listen for any hissing sounds or signs of a vacuum leak. It’s important to ensure that the new hose is functioning correctly.
7. Reassemble and Clean Up Once you’re satisfied that there are no leaks, reassemble any components you had to remove and clean up your workspace.
Conclusion
Replacing the brake booster vacuum hose is a straightforward yet crucial maintenance task that can significantly enhance your vehicle’s braking performance. By following the steps outlined above, you can ensure your brakes are responsive and safe. If you are unsure about any part of the process, consider seeking help from a professional mechanic, as safety should always be the top priority when it comes to brake systems.
-
Ultimate Spiral Protection for Hoses & CablesNewsJun.26,2025
-
The Ultimate Quick-Connect Solutions for Every NeedNewsJun.26,2025
-
SAE J1401 Brake Hose: Reliable Choice for Safe BrakingNewsJun.26,2025
-
Reliable J2064 A/C Hoses for Real-World Cooling NeedsNewsJun.26,2025
-
Heavy-Duty Sewer Jetting Hoses Built to LastNewsJun.26,2025
-
Fix Power Steering Tube Leaks Fast – Durable & Affordable SolutionNewsJun.26,2025

