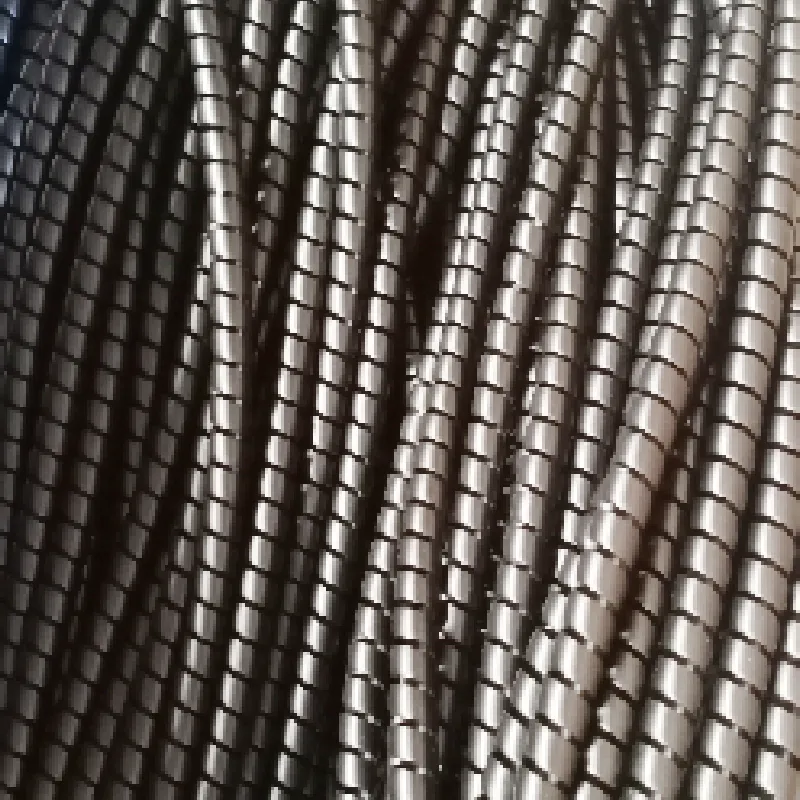
Guide to Replacing Power Steering Hose Step by Step Instructions
A Step-by-Step Guide to Power Steering Hose Replacement
Power steering is a crucial component of modern vehicles that ensures smooth and effortless steering. Over time, the power steering hoses can wear out or develop leaks, leading to a loss of fluid and, consequently, steering assistance. Replacing a power steering hose might seem daunting, but with the right tools and guidance, it can be done as a DIY project. This article will outline the steps involved in replacing a power steering hose.
Tools and Materials Needed
1. New power steering hose 2. Pliers or hose clamp tool 3. Ratchet and sockets 4. Wrench set 5. Power steering fluid 6. Drain pan 7. Clean rags 8. Safety glasses and gloves
Step 1 Safety First
Before starting any car repair procedure, ensure safety by wearing gloves and safety glasses. Park the car on a flat surface and engage the parking brake. Let the engine cool down to avoid burns from hot components.
Step 2 Locate the Power Steering Hose
Open the hood and identify the power steering system's components. There are typically two hoses the high-pressure hose and the low-pressure return hose. The high-pressure hose connects the power steering pump to the steering gear, while the low-pressure hose returns fluid from the steering gear back to the pump. It is crucial to know which one needs replacement.
Step 3 Prepare for Fluid Drainage
Place a drain pan beneath the power steering system to catch any fluid that may spill during the hose replacement. If the fluid is excessively dirty, it might be a good idea to replace it as well.
Step 4 Disconnect the Old Hose
power steering hose replacement instructions

Using a wrench or ratchet, loosen the clamps securing the power steering hose to the pump and the steering gear. Carefully disconnect the hose from its fittings, allowing any remaining fluid to drain into the pan. It might require some force or the use of pliers, depending on how tight the connection is.
Step 5 Install the New Hose
Take the new power steering hose and position it in place, connecting one end to the pump and the other to the steering gear. Make sure the hose is oriented correctly and does not interfere with any moving parts. Secure it in place by tightening the clamps. Ensure that the fittings are snug but not overly tight, as overtightening can cause damage.
Step 6 Refill the Power Steering Fluid
Once the new hose is securely connected, it’s time to refill the power steering fluid. Locate the power steering reservoir and add the appropriate type of fluid as specified in your vehicle’s owner manual. Be careful not to overfill.
Step 7 Bleed the System
To ensure there are no air bubbles in the power steering system, you need to bleed it. With the engine running, turn the steering wheel from lock to lock several times to allow any trapped air to escape. Check the fluid level and top off if necessary.
Step 8 Check for Leaks
After completing the installation and bleeding process, turn off the engine and inspect the hose connections for any signs of leaks. If everything looks secure, start the engine again and perform another inspection while the engine is running.
Conclusion
Replacing a power steering hose may seem like a complex task, but with careful planning and the right tools, it can be accomplished efficiently. Regular maintenance of your vehicle's power steering system will ensure its longevity and reliability, keeping your steering smooth and responsive. If at any point you feel uncertain about the process, it’s always wise to consult a professional mechanic. Happy driving!
-
Ultimate Spiral Protection for Hoses & CablesNewsJun.26,2025
-
The Ultimate Quick-Connect Solutions for Every NeedNewsJun.26,2025
-
SAE J1401 Brake Hose: Reliable Choice for Safe BrakingNewsJun.26,2025
-
Reliable J2064 A/C Hoses for Real-World Cooling NeedsNewsJun.26,2025
-
Heavy-Duty Sewer Jetting Hoses Built to LastNewsJun.26,2025
-
Fix Power Steering Tube Leaks Fast – Durable & Affordable SolutionNewsJun.26,2025

