

4runner power steering hose replacement
A Step-by-Step Guide to Replacing the Power Steering Hose on a 4Runner
The Toyota 4Runner is a renowned SUV that combines capability and comfort. However, like all vehicles, it requires maintenance, including the replacement of the power steering hose. If you’ve noticed fluid leaks or difficulty in steering, it might be time for a power steering hose replacement. This guide provides a clear overview of the process involved.
What You’ll Need
1. Replacement power steering hose 2. Open-end or socket wrench set 3. Pliers 4. Fluid catch pan 5. Power steering fluid 6. Safety goggles and gloves 7. Rags or paper towels
Preparation
Before starting the replacement, ensure your vehicle is parked on a flat surface, and the engine is cool. Wear safety goggles and gloves to protect yourself from any fluids and potential sharp objects.
Step 1 Locate the Power Steering Hose
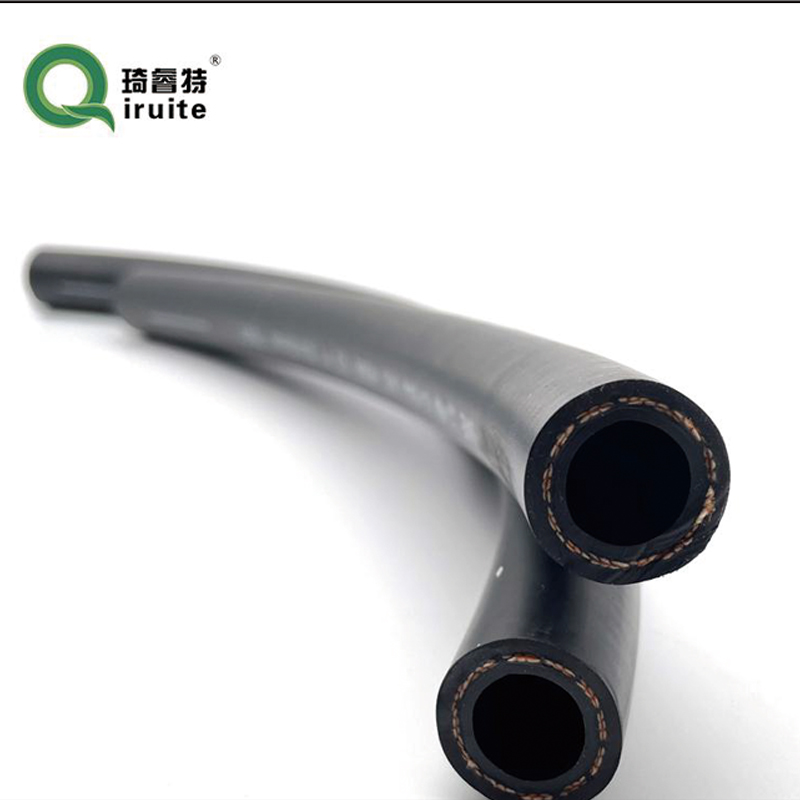
Open the hood of your 4Runner and identify the power steering system. The power steering hose is typically a long rubber or metal tube that runs from the pump to the steering gear. Familiarize yourself with its layout, as well as the connections at each end.
Step 2 Drain the Power Steering Fluid
Place a fluid catch pan under the power steering pump. Using pliers, carefully loosen and remove the clamps securing the hose to the pump and the steering gear. Be prepared for fluid to leak out when you disconnect the hose. Allow all the fluid to drain into the pan to prevent spills.
Step 3 Remove the Old Hose
4runner power steering hose replacement
Once the fluid has drained, carefully pull the hose away from the connections. If the hose is stuck, gently twist it while pulling to loosen any debris or grime that may be holding it in place. Inspect the old hose for any signs of damage, such as cracks or bulges.
Step 4 Install the New Hose
Take your new power steering hose and compare it with the old one to ensure it is the correct part. Begin by connecting one end of the new hose to the steering gear, then secure it with the clamp. Follow this by connecting the other end to the power steering pump, ensuring it fits snugly and securely.
Step 5 Refill the Power Steering Fluid
With the new hose installed, it’s time to refill the power steering fluid. Consult your owner’s manual for the recommended type of fluid for your 4Runner. Pour the fluid into the reservoir until it reaches the appropriate level indicated on the dipstick or reservoir markings.
Step 6 Check for Leaks
Start your engine and let it idle for a few minutes while you examine the connections for any signs of leaks. Turn the steering wheel from side to side to allow the new fluid to circulate throughout the system. This will also help to remove air bubbles trapped in the system.
Step 7 Clean Up
After ensuring there are no leaks, turn off your engine and clean any spilled fluid. Dispose of the old power steering fluid and the rags responsibly according to local regulations.
Conclusion
Replacing the power steering hose on your Toyota 4Runner is a manageable task that can save you money on repairs when done correctly. Regular maintenance will ensure your vehicle remains in top condition, providing you with a smooth and responsive steering experience. If you’re ever in doubt about your ability to perform this repair, don’t hesitate to consult a professional mechanic. Safe driving!
-
Understanding Power Steering Tube ReplacementNewsApr.16,2025
-
SAE J1401 Brake Hoses: A Critical Component for Vehicle SafetyNewsApr.16,2025
-
Pipe Couplings: Essential Components for Effective Plumbing and Fluid SystemsNewsApr.16,2025
-
Hose Guard Solutions for Every NeedNewsApr.16,2025
-
Effective Spiral Protection SolutionsNewsApr.16,2025
-
Effective Sewer Cleaning SolutionsNewsApr.16,2025